Cookie Icing That Hardens (High Gloss)
- Time: Active 10 minutes, Passive 24 hours, Total 24 hours 10 minutes
- Flavor/Texture Hook: Silky smooth sweetness with a satisfying snap
- Perfect for: Holiday sugar cookies, school bake sales, and beginner decorators
- Reliable Guide for Cookie Icing That Hardens
- The Science of Glassy Finishes
- Recipe Specs and Quick Metrics
- Choosing High Quality Raw Elements
- Tools for Precision Decorating Success
- Methodical Steps for Smooth Icing
- Fixing Common Texture Mistakes
- Customizing Tastes and Aromas
- Keeping Your Icing Stable
- Presenting Your Final Treats
- Addressing Your Mixing Concerns
- Recipe FAQs
- 📝 Recipe Card
Reliable Guide for Cookie Icing That Hardens
Have you ever spent an entire afternoon carefully piping intricate designs onto sugar cookies, only to have them smudge into a blurry mess the second you move them? It is honestly one of the most frustrating moments in the kitchen.
I remember one year making a batch of star shaped treats for a neighbor, and by the time I arrived at their door, the icing had slid right off the sides. It was a sticky disaster that I never wanted to repeat.
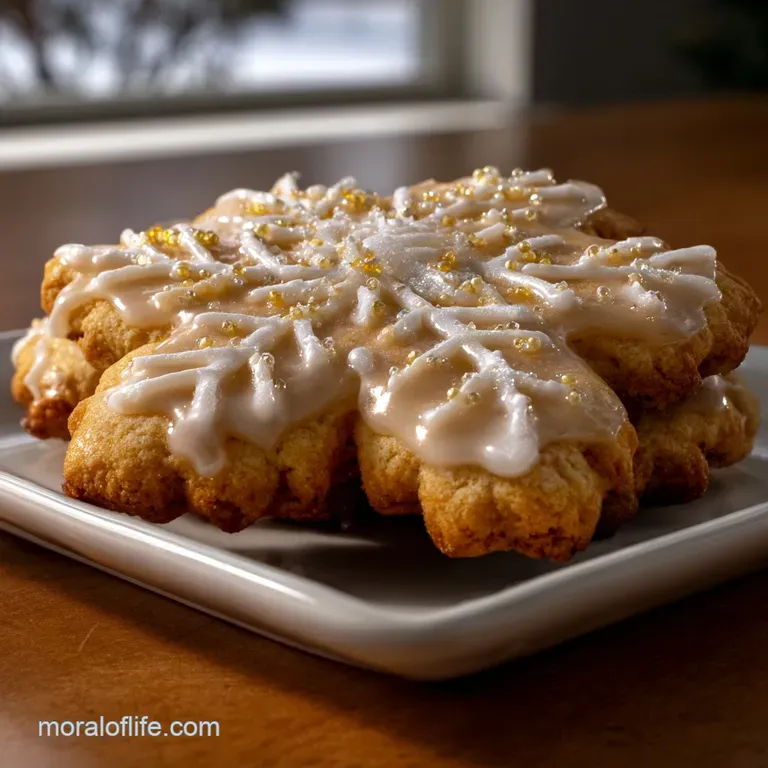
This specific recipe is the solution to those soggy bottomed decorating nightmares. We are making a cookie icing that hardens into a beautiful, porcelain like finish that stays exactly where you put it. It’s not just about aesthetics, though.
While many hard setting icings can feel like you’re biting into a piece of chalk, this version uses milk and corn syrup to keep the texture pleasant. It yields a gentle "snap" when you bite in, followed by a melt in-your mouth sweetness.
We are keeping things very simple and reliable here. You won't need to worry about the complexities of meringue powder or the food safety concerns sometimes associated with raw egg whites. This is a "bowl and whisk" kind of recipe that delivers crowd pleasing results every single time.
Whether you are prepping for a massive holiday party or just want to make some cute treats with the kids, this method gives you the control you need to succeed on your first try.
The Science of Glassy Finishes
To understand why this mixture behaves the way it does, we have to look at how sugar interacts with liquid and air. When we combine these specific ingredients, we aren't just making a sweet paste; we are creating a concentrated sugar solution that undergoes a controlled drying process.
- Interfering Agents: The light corn syrup acts as an "interfering agent," which prevents the sucrose in the confectioners' sugar from forming large, crunchy crystals. This is what gives the icing its signature high gloss shine instead of a dull, matte appearance.
- Evaporation Rate: As the water content in the milk evaporates, the sugar molecules draw closer together to form a solid structure. Because we use a high ratio of sugar to liquid, this happens quickly on the surface, creating a "skin" that protects your designs.
- Surface Tension: The thickness of the icing, controlled by the amount of milk, determines the surface tension. High tension allows for "flooding," where the icing fills a space and levels itself out into a perfectly flat, mirror like plane.
- Hygroscopy: Sugar is naturally humectant, meaning it grabs moisture from the air. The salt in this recipe helps stabilize the structure, ensuring that even in slightly humid kitchens, the icing reaches that critical hardened state without becoming tacky.
This technique works beautifully on our Chocolate Chip Cookies recipe if you want a decorated holiday twist on a classic chewy base.
Recipe Specs and Quick Metrics
When you are aiming for first try success, knowing the numbers helps keep you on track. This icing is designed to be versatile, but its behavior changes based on temperature and humidity. Always work in a cool, dry area of your kitchen if possible.
| Feature | Specification | Impact on Result |
|---|---|---|
| Drying Time (Surface) | 45 minutes | Allows for layering different colors without blending |
| Drying Time (Full Set) | 24 hours | Necessary before stacking or bagging treats |
| Ideal Room Temp | 20-22°C | Prevents the icing from sweating or drying too fast |
| Working Consistency | 10 second rule | Ensures the icing levels itself out perfectly |
Chef's Tip: To get that professional "shatter" texture, place your decorated cookies near a small desk fan. The constant airflow speeds up the evaporation of the milk, leading to a much shinier finish.
Choosing high-quality Raw Elements
The beauty of this cookie icing that hardens is that it uses pantry staples, but the quality of those staples matters. For the sugar, I always reach for Wholesome Sweeteners Organic Confectioners' Sugar.
It is finely ground, which means fewer lumps and a much smoother flow through your piping tips.
Ingredient Deep Dive
| Component | Science Role | Pro Secret |
|---|---|---|
| Confectioners' Sugar | Provides structure and bulk | Sift it twice to ensure zero "clogs" in your piping bag |
| Light Corn Syrup | Adds elasticity and gloss | Karo Light Corn Syrup is the gold standard for a clear shine |
| Whole Milk | Dissolves sugar and adds fat | Use cold milk to slow down initial crusting while you work |
| Fine Sea Salt | Balances the intense sweetness | A tiny pinch brightens the vanilla notes significantly |
List of Ingredients
- 480g (4 cups) Confectioners' sugar, siftedWhy this? It creates the body and allows the icing to set firm.Substitute: None recommended for this specific texture.
- 45ml (3 tbsp) Whole milk, plus more for thinningWhy this? Provides the moisture needed to create a spreadable glaze.Substitute: Heavy cream (results in a thicker, richer glaze).
- 45ml (3 tbsp) Light corn syrupWhy this? This is the secret to the shine and prevents cracking.Substitute: Brown rice syrup (will add a slight amber tint).
- 5ml (1 tsp) Clear vanilla extractWhy this? Adds flavor without tinting the icing brown.Substitute: Almond extract (for a classic wedding cake flavor).
- 1.25g (1/4 tsp) Fine sea saltWhy this? Cuts through the sugar so the flavor isn't one dimensional.Substitute: Table salt (use slightly less).
- Gel based food coloringWhy this? Adds color without changing the consistency like liquid drops do.Substitute: Natural fruit powders (add carefully to avoid clumping).
Tools for Precision Decorating Success
You don't need a kitchen full of gadgets, but a few specific items make the process much more enjoyable. I personally love using a KitchenAid Stand Mixer with the paddle attachment on low speed, but a simple glass bowl and a sturdy whisk work just as well.
- Sifter: Essential for removing the tiny lumps in the sugar that will inevitably block your piping tips later.
- Squeeze Bottles or Piping Bags: For beginners, Wilton Disposable Decorating Bags offer the best control.
- Toothpicks or Scribe Tool: Crucial for popping air bubbles and dragging the icing into tight corners.
- Small Glass Bowls: Use glass rather than plastic when mixing colors, as plastic can retain oils that might break down the icing's shine.
- Damp Paper Towels: Keep these over your bowls of colored icing to prevent a crust from forming while you aren't using them.
Methodical Steps for Smooth Icing
Follow these steps closely to ensure your icing has the right flow. The most common mistake is adding too much liquid too fast. Go slowly, and you will be rewarded with a velvety finish.
- Sift the sugar. Place the 480g of confectioners' sugar into a large bowl through a fine mesh sieve. Note: This prevents clogs in your piping bags later.
- Add the liquids. Pour in the 45ml of milk, 45ml of corn syrup, and 5ml of vanilla extract.
- Whisk gently. Stir by hand or on low speed until the sugar is fully moistened. Do not whip it, or you will incorporate too much air.
- Check the consistency. Lift your whisk; the icing should drizzle down and disappear back into the bowl in exactly 10 seconds.
- Thin if needed. If it's too thick, add more milk one teaspoon at a time. If too runny, add a tablespoon of sugar.
- Divide and color. Separate the icing into smaller bowls and add your AmeriColor Gel Paste using a toothpick. Note: Colors deepen as they dry, so start light.
- Transfer to bags. Fill your piping bags, making sure there are no air pockets near the tip.
- Outline the border. Trace the edge of your cookie first with a slightly thicker consistency to create a "dam."
- Flood the center. Fill the inside of the border with your 10 second icing, using a toothpick to swirl it into the edges.
- Pop the bubbles. Immediately tap the cookie on the counter and use a scribe tool to pop any visible tiny air bubbles until the surface is glassy.
- Dry thoroughly. Let the cookies sit undisturbed on a flat surface for at least 24 hours to ensure they are hard all the way through.
Fixing Common Texture Mistakes
Sometimes things don't go according to plan, especially if the weather is humid or your measurements were a tiny bit off. Don't worry; most icing issues are easily fixed.
Why Your Icing Is Runny
If the icing is dripping off the sides of the cookie, the ratio of liquid to sugar is too high. This usually happens when we get impatient and add too much milk at once.
| Problem | Cause | Fix | Pro Tip |
|---|---|---|---|
| Runny Icing | Too much milk | Add more sifted sugar | Add milk in 1/2 tsp increments only |
| Dull Finish | Slow drying | Use a fan | Avoid adding any butter or oil nearby |
| Air Bubbles | Over whisking | Let sit for 30 mins | Tap the bowl hard on the counter |
Why Your Icing Won't Dry
If your icing is still tacky after 24 hours, it’s often due to high humidity in the house. This is common in the summer months. You can try putting the cookies in a very low temperature oven (around 50°C) with the door propped open for 15 minutes to help the process along, but a fan is usually safer.
Fixing "Color Bleed"
This happens when one color of wet icing touches another. To avoid this, let your first color "crust" for at least 45 minutes before piping an adjacent color. This creates a physical barrier that keeps the pigments from migrating.
Customizing Tastes and Aromas
Once you have the base cookie icing that hardens mastered, you can start playing with the flavor profile. While vanilla is the classic choice, it is fun to match the icing to the cookie's personality.
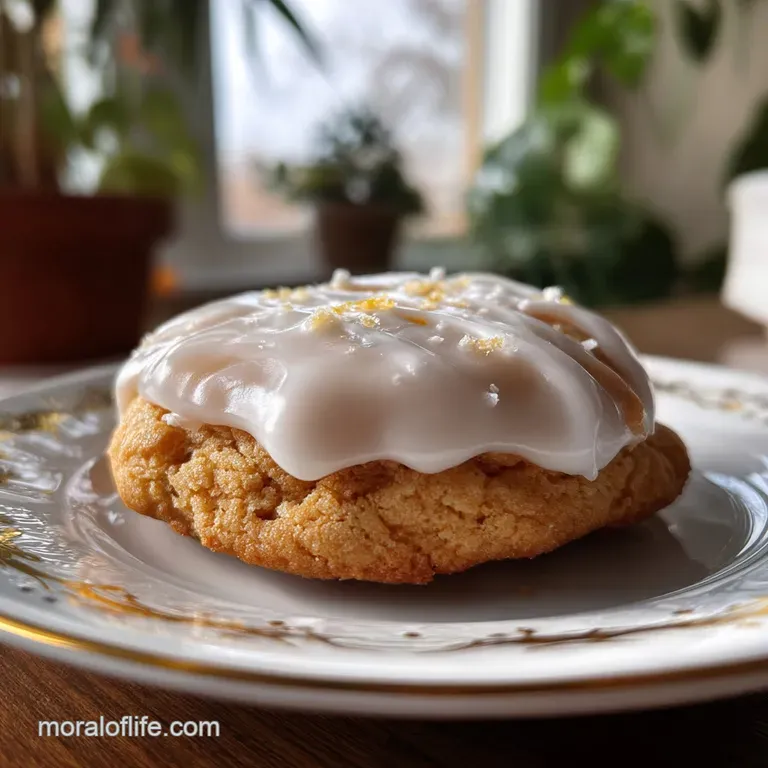
- Citrus Burst: Replace the vanilla with 5ml of fresh lemon or lime juice and a tiny bit of zest. This provides a sharp contrast to the sweet sugar.
- Almond Dream: Use almond extract instead of vanilla. This is a very traditional flavor for wedding cookies and pairs perfectly with a shortbread base.
- Warm Spice: For autumn cookies, add a pinch of cinnamon or nutmeg directly into the dry sugar before mixing.
- Chocolate Glaze: Sift in 15g of cocoa powder and increase the milk by about 10ml. This creates a rich, dark icing that still sets firmly.
For a different treat for the kids that doesn't require any piping skills, you might enjoy our Dirt Pudding recipe. It's a great "no bake" companion to a day of cookie decorating.
Keeping Your Icing Stable
If you have leftovers or want to prep ahead of time, this icing stores remarkably well. The key is preventing air contact, which causes the sugar to crystallize and harden prematurely.
Storage: Keep the icing in an airtight container in the fridge for up to 5 days. I recommend placing a piece of plastic wrap directly on the surface of the icing before closing the lid. This prevents a "crust" from forming inside the container.
Freezing: You can actually freeze decorated cookies! Once the icing is completely hard (after the 24 hour mark), place them in a single layer in a freezer safe bag. To thaw, move the bag to the fridge for 4 hours, then to the counter.
Do not open the bag until they are at room temperature, or condensation will form on the icing and ruin the shine.
Zero Waste Tip: If you have small amounts of colored icing left over, pipe tiny "royal icing drops" or "dots" onto parchment paper. Let them dry hard, and you have custom sprinkles for your next project!
Presenting Your Final Treats
The real magic happens when you see all your hard work lined up on a platter. Because this icing sets so firmly, you can get creative with how you display them.
- Stacking: Use sheets of parchment paper between layers of cookies if you are transporting them in a tin. Even though the icing is hard, the parchment prevents any potential scuffing of the glossy surface.
- Gift Bags: These make wonderful party favors. Since the icing won't smudge, you can slide them into clear cellophane bags and tie them with a ribbon.
- Cookie Towers: For a centerpiece, you can use a bit of extra "thick" icing as "glue" to stack cookies into a 3D tree or tower shape.
Addressing Your Mixing Concerns
Why is my icing not as shiny as the pictures? This usually comes down to the drying speed. If the icing takes too long to dry (due to humidity), the sugar crystals have more time to reorganize, leading to a matte finish. Using a fan is the best way to lock in that professional glow.
Can I use water instead of milk? Yes, you certainly can. Using water will result in an even more translucent, "glass like" finish. However, milk adds a bit of fat which makes the icing slightly more opaque and gives it a creamier mouthfeel.
Is it safe to leave these out overnight to dry? Yes. The high sugar content in this cookie icing that hardens acts as a preservative. Even though there is a small amount of milk, the sugar "binds" the moisture, making it shelf stable for the 24 hours required for drying.
How do I get the "perfect" red or black color? Deep colors like red and black require a lot of gel. The trick is to mix the color a day in advance. The pigment will deepen significantly as it sits.
If you add too much gel right before decorating, it can sometimes prevent the icing from hardening properly.
What is the stovetop vs. oven drying method? In some professional settings, bakers use the "oven method" where they put cookies in a very low oven (turned off, but still warm) to set the icing.
This is much faster than the "stovetop" style of letting things sit at room temp, but it carries a risk of the butter in the cookies melting and "bleeding" into the icing. For beginners, the room temperature method with a fan is always the safest bet.
| Method | Pros | Cons |
|---|---|---|
| Room Temp + Fan | Most reliable, highest shine | Takes 24 hours for full set |
| Warm Oven (Off) | Very fast (1-2 hours) | Risk of "butter bleed" yellowing the icing |
| Dehydrator | Perfect, consistent finish | Expensive equipment needed |
Whether you are making these for a special occasion or just a rainy day activity, remember that the goal is to have fun. Even if your lines aren't perfectly straight, the taste and that satisfying "snap" of the cookie icing that hardens will make them a hit with everyone who tries them.
Happy decorating!

Recipe FAQs
What is the key ingredient that makes this icing harden to a glossy finish?
Corn syrup is the key element. The light corn syrup acts as an interfering agent, which prevents the sugar from forming large, dull crystals, resulting in a high gloss surface.
Can I use water instead of milk for a clearer icing?
Yes, you can substitute water. Using water will yield a more translucent, glass like finish, whereas milk adds slight opacity and a creamier texture.
How long must the cookies sit before they are fully set and stackable?
Allow 24 hours for a complete set. While the surface may crust over in 45 minutes, full hardening throughout the icing layer requires a full day of undisturbed drying.
My icing is too runny; how do I fix the consistency quickly?
Add more sifted confectioners' sugar. Gradually incorporate the sugar one tablespoon at a time until the mixture drizzles off the whisk and disappears back into the bowl in about 10 seconds.
Will this icing taste like hard candy or chalk?
No, it remains tender to the bite. The corn syrup and slight amount of fat from the milk keep the texture pleasant, providing a satisfying "snap" rather than a hard crunch.
Can I make this icing ahead of time and store it?
Yes, prepare it up to 5 days in advance. Store it in an airtight container with plastic wrap pressed directly onto the surface to prevent the sugar from crystallizing from air exposure.
What should I use for coloring to avoid messing up the texture?
Use gel-based food coloring exclusively. Liquid drops introduce too much moisture, which thins the icing; gel concentrates the color without negatively impacting the required sugar-to-liquid ratio.
Hardening Cookie Icing Glaze
Ingredients:
Instructions:
Nutrition Facts:
| Calories | 70 kcal |
|---|---|
| Protein | 0.1 g |
| Fat | 0.1 g |
| Carbs | 17.7 g |
| Fiber | 0 g |
| Sugar | 17.2 g |
| Sodium | 16 mg |
