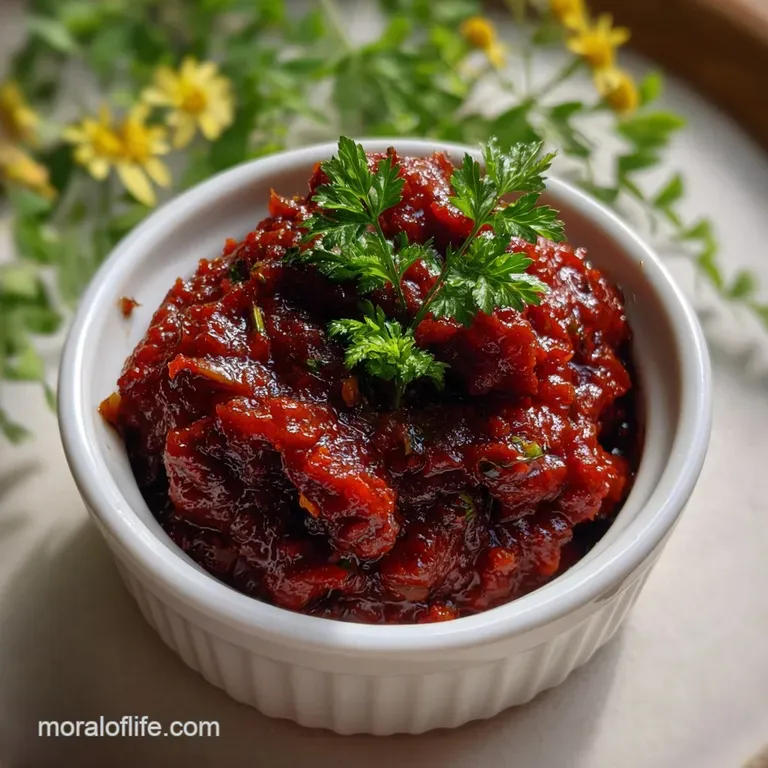
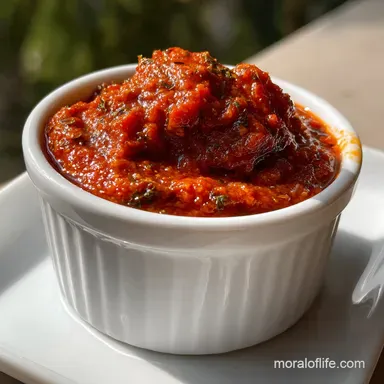
Homemade Red Pepper Paste Concentrate
- Time: Active 20 minutes, Passive 1 hour, Total 1 hour 20 mins
- Flavor/Texture: Intensely savory, smoky, and velvety
- Perfect for: Enhancing pasta sauces, marinating meats, or spreading on toast
- Creating Bold Red Pepper Paste
- Mastering the Char and Reduction
- Time and Yield Metrics
- Fresh Ingredients and Pantry Staples
- Essential Kitchen Tools Needed
- Processing and Cooking Instructions
- Solving Common Texture Issues
- Flavor Tweaks and Adaptations
- Storage and Waste Prevention
- Plating and Pairing Ideas
- Expert Tips and Advice
- Recipe FAQs
- 📝 Recipe Card
Creating Bold Red Pepper Paste
Have you ever looked at a dull, watery sauce and wondered what was missing? I used to struggle with that all the time until I discovered the magic of making my own red pepper paste. Most commercial versions are either packed with way too much salt or lose that bright, sun kissed essence during processing.
This homemade version is different because we control the char and the concentration.
I remember the first time I tried to replicate the thick, dark pastes I saw in Mediterranean markets. I thought I could just blend raw peppers and call it a day. Boy, was I wrong! It turned into a pink, watery mess that ruined my dinner. The trick, I eventually learned, is all in the slow stovetop reduction.
It's a game of patience, but the house smells absolutely incredible while it bubbles away.
In this guide, we are going to take 800g of fresh red bell peppers and distill them into an umami rich staple. It’s thick, it’s vibrant, and it’s honestly one of the most useful things you can have in your fridge.
Whether you're a seasoned pro or just starting out, this process is straightforward and very rewarding. Let's crack on and get roasting!
Mastering the Char and Reduction
Concentrating the Natural Sugars
The primary goal here is to remove water. By roasting the peppers until they blister, we initiate the Maillard reaction, which creates those deep, savory notes. As we simmer the puree, the natural sugars in the red peppers concentrate, shifting the flavor from "fresh and grassy" to "rich and jammy."
Achieving a Silky Emulsion
When we introduce the Bertolli Extra Virgin Olive Oil at the end, we aren't just adding fat. We are creating a stable emulsion with the pepper pulp. This fat helps carry the fat soluble vitamins and flavors across your palate, making the final red pepper paste feel velvety rather than grainy.
Balancing the pH for Longevity
The addition of lemon juice serves two purposes. Chemically, it lowers the pH of the paste, which helps maintain that brilliant red color by preventing oxidation. Gastronomically, it provides a sharp counterpoint to the heavy, concentrated sweetness of the cooked peppers, ensuring the taste stays bright.
The Science of Why it Works: - Thermal Dehydration: over High heat roasting breaks down the pepper's cellular walls, releasing internal moisture for faster evaporation during the simmer.
- Caramelization: The long, slow reduction allows the fructose in the peppers to undergo caramelization, adding complexity and a natural dark hue.
Time and Yield Metrics
This recipe is designed to be efficient. While the total time is over an hour, most of that is passive. You can easily go about your business while the peppers roast and the sauce reduces.
| Method | Time | Result |
|---|---|---|
| Fast (Broiler Method) | 1 hour 20 mins | Bright, smoky, and slightly sweet |
| Classic (Sun dried Method) | 3 to 5 days | Extremely dark, salty, and fermented |
Precision Checkpoints: 1. Roast peppers until the skins are at least 80% blackened for maximum smoky flavor. 2. Reduce the puree until the total volume has decreased by exactly 50%. 3. Allow the paste to cool to 21°C (room temperature) before sealing to prevent condensation.
Fresh Ingredients and Pantry Staples
For the Pepper Base
- 4 Large Red Bell Peppers (approx. 800g) Why this? These provide the bulk of the paste and the essential natural sugars. (Substitute: 400g of jarred roasted peppers if you are in a massive rush)
- 4 Fresno Chilies Why this? Adds a moderate heat that complements the sweetness without being overpowering. (Substitute: Red jalapeños for a slightly milder kick)
For the Flavor Profile
- 2 tbsp Bertolli Extra Virgin Olive Oil Why this? Creates a glossy finish and preserves the paste from the air. (Substitute: Grapeseed oil for a neutral finish)
- 1 tsp Sea Salt Why this? Essential for drawing out moisture and acting as a natural preservative. (Substitute: Diamond Crystal Kosher Salt)
- 1 tbsp Lemon Juice Why this? Provides the necessary acidity to brighten the concentrated flavors. (Substitute: Red wine vinegar)
- 1 clove Garlic, finely minced Why this? Adds an aromatic base that deepens as the paste reduces. (Substitute: 1/2 tsp garlic powder)
- 1/2 tsp Smoked Paprika Why this? Mimics the traditional flavor of sun dried peppers with minimal effort. (Substitute: Regular paprika for no smoke)
| Original Ingredient | Substitute | Why It Works |
|---|---|---|
| Fresno Chilies | Dried Ancho Chilies | Similar sweetness but adds a darker, more raisiny depth. |
| Lemon Juice | Citric Acid (pinch) | Provides sharp acidity without adding extra liquid. |
| Sea Salt | Soy Sauce (1 tsp) | Adds salt plus extra umami. Note: Will darken the paste. |
Essential Kitchen Tools Needed
You don't need a professional kitchen for this, but a few specific tools make the texture much better. I use my KitchenAid Food Processor to get the puree perfectly smooth. If you like a more rustic feel, you can use a mortar and pestle, but be prepared for a workout!
- Lodge Cast Iron Skillet or Baking Sheet: For roasting the peppers under the broiler.
- KitchenAid Food Processor: Essential for achieving that velvety, professional grade texture.
- Heavy Bottomed Stainless Steel Pan: Prevents the sugars from scorching during the long reduction.
- Sterilized Glass Jars: For safe, Long Term storage in the fridge.
Chef's Tip: Before you start peeling the roasted peppers, put them in a bowl and cover tightly with plastic wrap for 10 minutes. The steam will make the skins slide off like a dream, saving you a massive headache.
Processing and Cooking Instructions

1. Charring the Peppers
Wash the 4 Large Red Bell Peppers and 4 Fresno Chilies. Place them on a Lodge baking sheet and broil on high. Turn them occasionally until the skins are charred and blistered. This should take about 15 minutes. This step is where the smokiness of the red pepper paste begins.
2. Processing the Pulp
Remove the peppers from the heat and let them steam in a covered bowl. Once cool enough to handle, peel the blackened skins and discard the seeds and stems. Place the flesh into the KitchenAid Food Processor along with the minced garlic.
3. Reducing to a Thick Paste
Pulse the mixture until it reaches a smooth, liquid consistency. Pour this into your heavy pan and add the 2 tbsp Bertolli Extra Virgin Olive Oil and 1 tsp Sea Salt. Simmer over low heat for 45 minutes, stirring occasionally.
As the water evaporates, the color will deepen. You'll know it's getting close when the bubbles start to "pop" more slowly and leave little craters. Stir in the 1/2 tsp Smoked Paprika and 1 tbsp Lemon Juice during the final 10 minutes.
Continue cooking until the paste is thick enough to hold its shape on a spoon.
If you are looking for a way to use this paste, it works wonders when rubbed onto meat for a Shredded Beef recipe before slow cooking. The sugars in the paste create a beautiful crust.
Solving Common Texture Issues
Preventing Scorched Bottoms
Because of the high sugar content in bell peppers, they love to stick to the bottom of the pan as they thicken. If you smell even a hint of burning, remove the pan from the heat immediately and transfer the contents to a clean pot. Do not scrape the bottom!
Fixing a Thin Consistency
If your paste feels more like a thick soup, you haven't gone far enough. The "spoon test" is your best friend here. If you can drag a spatula through the middle of the pan and the trail stays open for 3 seconds, you're done.
| Problem | Cause | Fix | Pro Tip |
|---|---|---|---|
| Bitter Aftertaste | Over charred seeds | Remove all seeds | Scrape the inside of the pepper with a spoon after peeling. |
| Grainy Texture | Improper blending | Blend longer | Add 1 tsp of water to help the blades catch the pulp. |
| Separation | Not enough oil | Whisk in more oil | Add oil drop by drop at the very end like a mayo. |
Flavor Tweaks and Adaptations
Crafting a Korean Inspired Style
To give this a Gochujang vibe, add a tablespoon of fermented soybean paste (miso) and a teaspoon of honey during the reduction. This creates a sweet salty savory profile that is addictive. It's not a direct red pepper paste substitute for the real thing, but it’s a great bridge.
Creating a Sun Dried Turkish Variation
If you want that ultra deep Turkish Biber Salçası flavor, add a pinch of cumin and use sun dried tomatoes along with the fresh peppers. The tomato adds extra glutamates which really amp up the savory factor.
Adjusting the Heat Scale
- For Mild: Remove all seeds and white pith from the Fresno chilies.
- For Spicy: Use Thai Bird's Eye chilies instead of Fresnos.
- For Smoky: Increase the smoked paprika to 1 full teaspoon.
This paste is surprisingly versatile. I’ve even whisked a teaspoon of it into a traditional Alfredo Sauce recipe to give it a sunset orange hue and a subtle peppery finish.
If you want X, do Y: - If you want a more vibrant color, add a pinch of turmeric. - If you want a longer shelf life, increase the salt by 1/2 tsp. - If you want a smoother finish, pass the final paste through a fine mesh sieve.
Storage and Waste Prevention
Extending Shelf Life with Oil
Once your red pepper paste is in the jar, flatten the top with a spoon and pour a thin layer of olive oil over it. This "oil seal" prevents oxygen from reaching the paste, which keeps it fresh for much longer. Every time you use some, just top up the oil.
Freezing for Long Term Use
If you won't use 32 servings in two weeks, freeze the paste in ice cube trays. Once frozen, pop the cubes into a freezer bag. You can drop a single cube directly into a hot pan whenever you're starting a soup or stew. It will keep for 4 months this way.
Zero Waste Tip: Don't throw away those pepper stems and scraps! Put them in a jar with some white vinegar and let it sit for a week. You'll end up with a spicy, pepper infused vinegar that's incredible on wilted greens or in a vinaigrette.
Plating and Pairing Ideas
Garnish for Visual Appeal
When serving this as a dip or spread, a drizzle of high-quality oil and a sprinkle of toasted sesame seeds makes it look restaurant quality. It’s a bold addition to any mezze platter.
Pairing with Modern Bases
Try swirling a dollop of this red pepper paste into Greek yogurt for a fast, creamy dip. It also pairs exceptionally well with grilled halloumi or as a base layer on a flatbread before adding toppings.
Expert Tips and Advice
"Can I use green peppers?" Honestly, don't bother. Green peppers have a bitter, grassy note that becomes very unpleasant when concentrated. Stick to the red, yellow, or orange varieties for the best results.
"Is this the same as Gochujang?" No, Gochujang is fermented with rice flour and soybeans. This is a pure vegetable reduction. However, this red pepper paste can act as a great base if you're trying to mimic those flavors at home.
"Why is my paste turning brown?" This is usually due to oxidation or over cooking on high heat. Keep the temperature low and slow, and don't skip the lemon juice it's the key to keeping that "stoplight red" color.
This recipe is all about the layers. From the initial sizzle of the peppers under the broiler to the final velvety sheen of the oil, every step builds the flavor. It’s a pantry staple that will honestly make you wonder why you ever bought the jarred stuff. Happy cooking!

Recipe FAQs
How to make red pepper paste?
Yes, by roasting and reduction. You must roast bell peppers until charred, then blend them into a pulp before slowly simmering the mixture to concentrate the sugars and remove moisture.
How to make red pepper paste from scratch?
Yes, it requires fresh ingredients. Start by charring 800g of red bell peppers until 80% blackened for maximum smoky flavor, which kicks off the process.
How to make red pepper paste at home?
Yes, using a slow stovetop reduction. The critical step is simmering the pepper puree until the total volume has decreased by exactly 50% to achieve a thick, savory concentrate.
How to make red pepper paste korean?
No, this is not traditional Gochujang. To mimic Korean flavor, add a tablespoon of miso paste and a teaspoon of honey during the simmering stage.
How to make red pepper paste turkish?
Yes, you can adapt this recipe. For a Turkish Biber Salçası flavor profile, incorporate a pinch of cumin and substitute some of the fresh peppers with sun dried tomatoes.
What is the primary goal when making red pepper paste?
The primary goal is thermal dehydration. You need to aggressively remove water through roasting and slow simmering so the natural sugars caramelize and create a thick texture.
How do I prevent my homemade red pepper paste from turning brown?
No, avoid high heat and oxidation. Keep the simmering temperature low, and ensure you add the lemon juice toward the end to maintain the bright red color by lowering the pH.
Homemade Red Pepper Paste
Ingredients:
Instructions:
Nutrition Facts:
| Calories | 16 kcal |
|---|---|
| Protein | 0.3 g |
| Fat | 0.9 g |
| Carbs | 1.7 g |
| Fiber | 0.5 g |
| Sugar | 1.1 g |
| Sodium | 72 mg |
