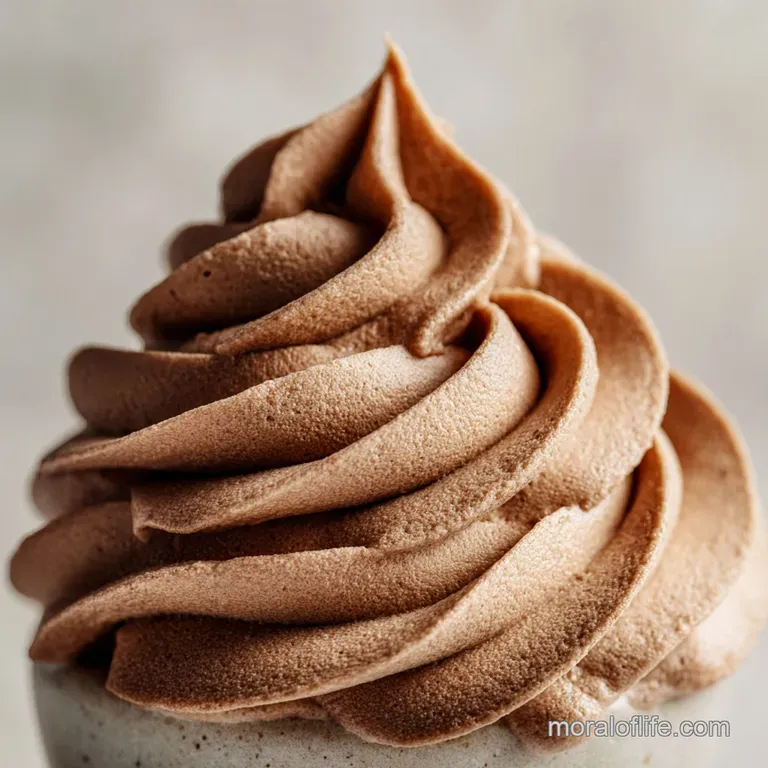
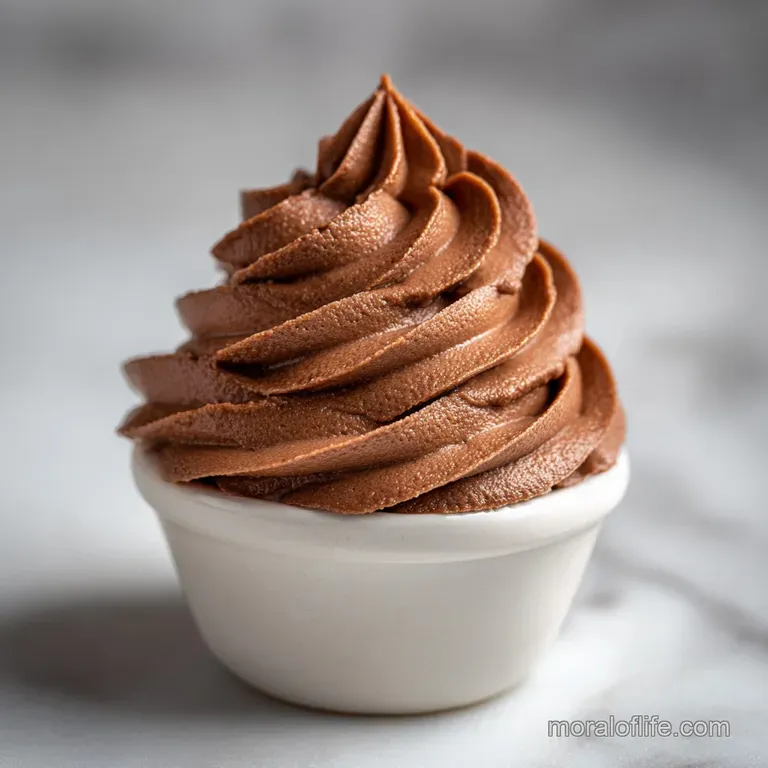
Milk Chocolate Buttercream: Velvety Whipped Mousse
- Time: Active 15 minutes, Passive 2 minutes, Total 17 minutes
- Flavor/Texture Hook: Velvety, whipped mousse consistency with a deep cocoa finish
- Perfect for: Celebration layer cakes, filling macarons, or topping a crowd-pleasing batch of cupcakes
- Creating the Ultimate Milk Chocolate Buttercream
- The Science Behind Silky Smooth Textures
- Planning Your Perfect Frosting Batch
- Essential Components for Balanced Flavor
- Necessary Gear for Professional Finishes
- Mastering the Multi Stage Mixing Method
- Fixing Typical Buttercream Texture Issues
- Creative Twists on Classic Chocolate
- Maintaining Freshness and Handling Leftovers
- Ideal Matches for Rich Frosting
- Recipe FAQs
- 📝 Recipe Card
Creating the Ultimate Milk Chocolate Buttercream
The first time I tried making a real milk chocolate buttercream, I nearly threw my whisk across the kitchen. I wanted that specific, nostalgic flavor of a high-quality candy bar, but everything I found online was either a gritty sugar bomb or a puddle of melted butter.
I remember standing over my mixing bowl, watching the chocolate seize because I was too impatient to let it cool. It was a mess, but that failure was exactly what I needed to find the trick to the silky, whipped mousse texture we all actually want.
This recipe isn't just about mixing things together; it's about the transformation of simple pantry staples into something that feels expensive. We are moving away from the "too sweet" grocery store tubs and moving toward a sophisticated, balanced frosting that holds its shape.
You’ll notice the aroma immediately - the deep, earthy scent of Dutch processed cocoa hitting the vanilla bean paste. It’s intoxicating.
Expect a frosting that behaves itself. Whether you're smoothing it over a tall layer cake or piping intricate stars, this version stays stable. We’ve all been there, watching a frosting slide off a warm cake, but we’re going to fix that today.
I’ll show you exactly when to stop whipping and how to tell if your butter is at that "goldilocks" temperature. Let's get into the details of what makes this particular batch work so well.
The Science Behind Silky Smooth Textures
Lipid Emulsification: The heavy cream acts as a bridge between the fat heavy butter and the water soluble sugar, preventing the frosting from "breaking" or looking curdled.
Crystal Stabilization: Using melted real chocolate introduces cocoa butter, which sets firmer than vegetable fats, providing a structural backbone that keeps the frosting stable at room temperature.
Aeration Mechanics: High speed whipping incorporates tiny air pockets into the butter's plastic fat structure, which lightens the color and creates that signature "melt away" mouthfeel.
Starch Suspension: Triple sifting the confectioners’ sugar ensures that the cornstarch within the sugar is evenly distributed, absorbing excess moisture without creating grainy clumps.
| Method | Time | Texture | Best For |
|---|---|---|---|
| Traditional Stand Mixer | 15 minutes | Ultra light and airy | Professional layer cakes and piping |
| Hand Mixer | 20 minutes | Dense and fudgy | Cupcakes and brownies |
| Food Processor | 5 minutes | Silky and heavy | Filling macarons or cookie sandwiches |
When you’re deciding which method to use, think about the final "look" you want. If you need those sharp, defined lines from a piping tip, the stand mixer is your best friend because it builds the most air into the fat.
If you want something that tastes like a thick truffle, the food processor method is a brilliant shortcut. I usually stick with my stand mixer because I love that cloud like feel.
Planning Your Perfect Frosting Batch
| Component | Science Role | Pro Secret |
|---|---|---|
| Milk Chocolate | Provides structural cocoa butter | Use a bar with at least 30% cocoa solids for the best "snap" and set. |
| Unsalted Butter | Forms the base emulsion | Grass fed butter has a higher melting point, helping the frosting stay stable in warm rooms. |
| Confectioners’ Sugar | Sweetens and thickens | Triple sifting is the only way to guarantee a velvety finish without tiny grit. |
Essential Components for Balanced Flavor
To get the best results, we need to be specific about what goes into the bowl. I’ve found that using unsalted grass fed butter makes a massive difference in the final flavor profile. It gives the frosting a richness that standard butter just can't touch.
- 170g (6 oz) milk chocolate: Finely chopped. Why this? Real chocolate provides the structural cocoa butter needed for a firm set.
- Substitute: Semi sweet chocolate (note: will be less creamy and more intense).
- 30g (1/4 cup) Dutch processed cocoa powder: Sifted. Why this? It adds a deep, dark color and balances the sweetness of the milk chocolate.
- Substitute: Natural cocoa powder (note: will be more acidic and lighter in color).
- 340g (1.5 cups) unsalted grass fed butter: Slightly cooler than room temperature (65°F). Why this? Temperature is everything; 65°F allows for maximum air incorporation without melting.
- Substitute: Standard unsalted butter (note: may melt faster during whipping).
- 360g (3 cups) confectioners’ sugar: Triple sifted. Why this? Ensures a velvety texture and helps stabilize the emulsion.
- Substitute: Organic powdered sugar (note: can be grittier, may need extra sifting).
- 15ml (1 tbsp) pure vanilla bean paste: Why this? The flecks look beautiful and the flavor is much deeper than extract.
- Substitute: Vanilla extract (1:1 ratio).
- 2g (1/4 tsp) fine sea salt: Why this? Cuts through the sugar to highlight the chocolate notes.
- Substitute: Table salt (use slightly less).
- 30ml (2 tbsp) heavy cream: Room temperature. Why this? Loosens the frosting just enough to make it spreadable.
- Substitute: Whole milk (note: frosting will be slightly less stable).
If you are a fan of textures that contrast with this smooth frosting, you might enjoy trying this Crunch Star Cookies recipe as a base for your next baking project. The crunch of the cookie against this velvety milk chocolate buttercream is genuinely life changing.
Necessary Gear for Professional Finishes
You don't need a professional bakery setup, but a few specific tools will save you a lot of heartache. A stand mixer is the MVP here. While a hand mixer works, the motor on a stand mixer can handle the 5-10 minutes of whipping required to get the frosting truly white and fluffy.
Chef's Tip: Freeze your mixing bowl for 10 minutes before adding the butter. This helps keep the butter at that perfect 65°F while the friction of the whisk generates heat.
I also highly recommend a digital kitchen scale. Measuring by volume (cups) is notoriously inaccurate for flour and sugar. A "cup" of powdered sugar can vary by up to 30 grams depending on how packed it is, which is the difference between a silky frosting and a stiff, dry one.
Finally,, a silicone spatula is essential for scraping the very bottom of the bowl to ensure no butter streaks are left behind.
Mastering the Multi Stage Mixing Method
- Melt the chocolate. Place the 170g of chopped milk chocolate in a heat proof bowl. Microwave in 20 second bursts, stirring between each, until just liquid and smooth.
- Cool the base. Set the melted chocolate aside for about 10 minutes. Note: If it's too hot, it will melt your butter; if it's too cold, it will create chocolate "chips" in the frosting.
- Cream the butter. Place the 340g of cool butter in your stand mixer. Beat on medium high for 5 minutes until it looks pale and nearly white.
- Add the dry flavors. Turn the mixer to low and add the 30g of cocoa powder and 2g of salt. Mix until the powder is fully incorporated and no longer dusty.
- Incorporate the sugar. Add the 360g of triple sifted sugar one cup at a time. Mix on low after each addition until the sugar disappears into the fat.
- Pour the chocolate. With the mixer on medium, slowly stream in the cooled chocolate. Beat for 2 minutes until the color is uniform and bronzed.
- Emulsify the liquids. Add the 15ml of vanilla bean paste and 30ml of heavy cream. Beat on high for another 3 minutes until the texture is light and billowing.
- The Finishing Polish. Switch to the paddle attachment (if using a stand mixer) and stir on the lowest speed for 2 minutes. until all large air bubbles have vanished and the surface is glossy.
It is very important to watch for those visual cues. When the butter turns from yellow to a very pale cream color, that’s your sign that you’ve incorporated enough air. If you skip this, your frosting will feel heavy and greasy on the roof of your mouth.
Fixing Typical Buttercream Texture Issues
The Problem of Grainy or Gritty Frosting
This usually happens because the confectioners' sugar wasn't sifted or the butter was too cold to fully integrate with the sugar crystals. If you feel grit when you rub a bit of frosting between your fingers, don't panic.
You can often fix this by adding another tablespoon of heavy cream and whipping on high for 3-4 minutes. The liquid helps dissolve those tiny stubborn sugar particles.
Saving a Soupy or Runny Frosting
If your kitchen is too warm or your melted chocolate was still hot, the butter will lose its structure. Your frosting will look shiny and soupy. Pop the whole mixing bowl into the fridge for 15 minutes. Take it out and whip it again.
If it's still too soft, add 1/4 cup of extra sifted sugar to help give it some body.
| Problem | Root Cause | Solution |
|---|---|---|
| Frosting looks curdled | Ingredients were at different temperatures | Warm the bowl with a hair dryer for 30 seconds while whipping. |
| Air bubbles in finish | Over whipping at the final stage | Switch to a paddle attachment and stir on low speed for 2-3 minutes. |
| Too sweet | Lack of acidity or salt | Add an extra pinch of sea salt or a drop of lemon juice. |
Before you start your next batch, keep this Common Mistakes Checklist in mind to ensure a perfect result every single time:
- ✓ Ensure the butter is truly at 65°F (it should take a fingerprint but not feel greasy).
- ✓ Triple sift the sugar even if the bag says it is "pre sifted."
- ✓ Let the melted chocolate cool until it is no longer warm to the touch (around 80°F).
- ✓ Scrape the bottom and sides of the bowl at least three times during the process.
- ✓ Use room temperature heavy cream to prevent the butter from seizing.
- ✓ Add a tiny bit of espresso powder to deepen the chocolate notes without adding sweetness.
If you happen to find yourself with leftover ingredients, like extra peanut butter, you can easily pivot and make a Chewy Peanut Butter recipe which pairs beautifully with any leftover chocolate frosting you might have.
Creative Twists on Classic Chocolate
Scaling this recipe is fairly straightforward. If you need to make a massive wedding cake, you can easily triple the batch. However, when scaling up, I recommend only increasing the salt and cocoa powder by 1.5x, as these flavors can become overwhelming in large quantities.
If you're cutting the recipe in half, just beat one egg (if the recipe calls for it, though this one doesn't) and use half, but for this specific buttercream, simply halving the weights works perfectly.
Malted Milkshake Twist
To give this a nostalgic diner feel, add 40g of malted milk powder along with the cocoa powder. It changes the structural integrity slightly, making it a bit thicker, so you might need an extra splash of heavy cream. This version is incredible on vanilla bean cupcakes.
Salted Caramel Depth
Fold in 60ml of thick, chilled salted caramel at the very end. Don't over mix it; leave some streaks of caramel visible for a beautiful marbled effect. This adds a "velvety" richness that is hard to beat for autumn celebrations.
Mocha Infusion
Dissolve 1 teaspoon of espresso powder into the heavy cream before adding it to the bowl. This doesn't make the frosting taste like coffee; instead, it acts as a flavor booster for the milk chocolate, making it taste more "chocolatey" and less like plain sugar.
Maintaining Freshness and Handling Leftovers
Proper storage is the difference between a fresh tasting cake and one that tastes like the "fridge." This milk chocolate buttercream can be stored in an airtight container in the refrigerator for up to 5 days.
When you're ready to use it, let it sit on the counter for 1-2 hours until it reaches room temperature, then put it back in the mixer for a quick 2 minute whip to restore the fluffiness.
You can also freeze this frosting for up to 3 months. I like to freeze it in a heavy duty freezer bag, pressed flat so it thaws quickly. To use, thaw it overnight in the fridge and then follow the room temperature whipping steps mentioned above.
For a zero waste kitchen approach, use any leftover frosting as a "glue" for cake pops. Crumble up any cake scraps, mix them with the leftover buttercream, and roll them into balls. You can also sandwich a dollop of frosting between two graham crackers for an instant snack.
If you have just a tiny bit left, stir it into your morning coffee for a decadent, homemade mocha.
Ideal Matches for Rich Frosting
- 1. Deep Red
- Fresh raspberries or a pomegranate aril. Add these just before serving to prevent the juice from bleeding into the frosting.
- 2. Bright White
- Large flakes of Maldon sea salt or white chocolate curls. These provide a sharp visual "shatter" against the smooth surface.
- 3. Metallic Gold
- Edible gold leaf or gold luster dust. This brings a "presentation" level of elegance that makes the milk chocolate look expensive.
| Fresh Version | Shortcut Version | Resulting Difference |
|---|---|---|
| Real Melted Chocolate | Cocoa powder only | Real chocolate adds a fudgy, firm set that cocoa alone lacks. |
| Grass fed Butter | Margarine or Shortening | Butter provides the "melt in-your mouth" feel; shortcuts leave a waxy film. |
| Vanilla Bean Paste | Imitation Vanilla | Paste offers depth and visual flecks; imitation is one dimensional. |
This frosting is a dream when paired with a classic yellow cake or even a dark chocolate sponge for a "double chocolate" experience. But what about the sweetness levels? Many people think milk chocolate is too sweet for frosting.
The truth is, by adding the Dutch processed cocoa and the sea salt, we create a complex flavor profile that isn't just one note.
The biggest myth in the baking world is that you have to use boiling water to "bloom" cocoa powder for buttercream. In this specific recipe, we don't want the extra moisture. The fat in the butter is enough to carry the cocoa flavor without turning the frosting into a runny mess.
Another myth is that you can't over beat buttercream. You actually can! If you beat it for 20 minutes, you’ll end up with so many air bubbles that it will look like a sponge instead of silk. Stick to the timed steps, and you’ll be golden.

Recipe FAQs
Can you make buttercream with milk chocolate?
Yes, absolutely. Real milk chocolate bars, when properly cooled after melting, provide the cocoa butter necessary for a structurally sound and incredibly flavorful buttercream.
What is the difference between chocolate frosting and Chocolate Buttercream Frosting?
Chocolate frosting is a broader term; buttercream is a specific emulsion. Buttercream relies on a fat base (butter) whipped with sugar, while a simple chocolate frosting might use only milk and powdered sugar for a lighter glaze or pourable coating.
How do you make chocolate buttercream?
Cream room temperature butter until pale, then gradually beat in sifted powdered sugar and cocoa powder. Slowly stream in cooled, melted real chocolate and finish by incorporating a small amount of liquid like heavy cream until light and fluffy.
What frosting do professional bakers use most often?
Swiss Meringue or Italian Buttercream are highly favored for stability and silkiness. However, for rich flavor delivery on modern layer cakes, a highly stabilized American buttercream using real melted chocolate, like this one, is extremely popular.
Is it true that milk chocolate makes buttercream too sweet?
No, this is a common misconception if you balance the ingredients correctly. The bitterness from high-quality Dutch processed cocoa powder and a pinch of salt are essential to cut the inherent sweetness of milk chocolate.
How long does milk chocolate buttercream need to chill before piping?
Chill only if the frosting is too soft; otherwise, no chilling is necessary. If the butter was slightly too warm, refrigerate the bowl for 15 minutes, then re-whip it to restore the air structure you built during mixing.
Why is my homemade buttercream breaking or looking curdled?
The emulsion has separated, likely due to temperature shock between the butter and the melted chocolate. If you mastered the stable emulsion technique in this buttercream, you’ll find the same principles apply when making a rich dressing, such as the one found in our Creamy Coleslaw Recipe.
Milk Chocolate Buttercream Frosting

Ingredients:
Instructions:
Nutrition Facts:
| Calories | 207 kcal |
|---|---|
| Protein | 0.9 g |
| Fat | 14.2 g |
| Carbs | 20.1 g |
| Fiber | 0.5 g |
| Sugar | 18.6 g |
| Sodium | 38 mg |
