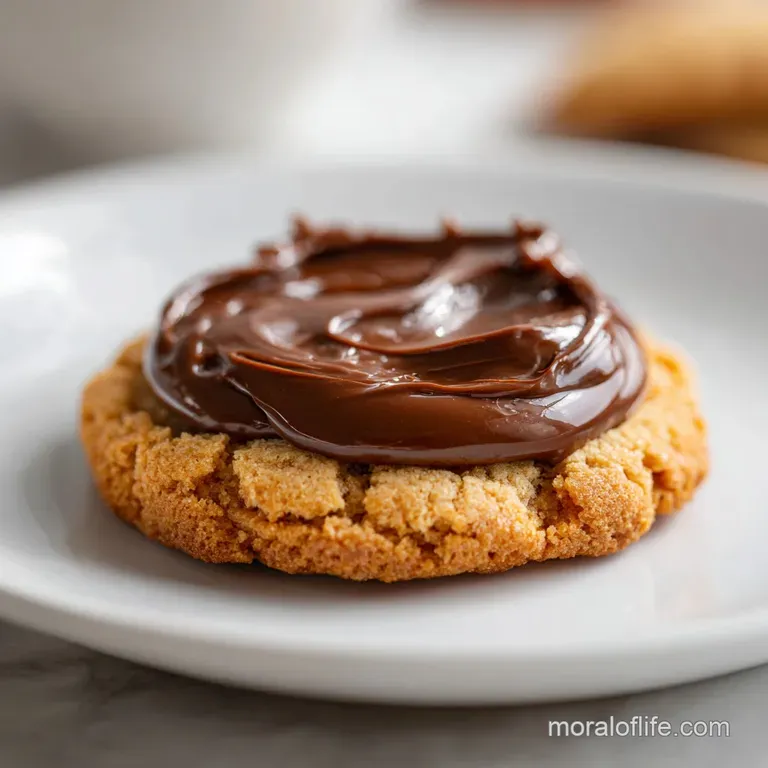
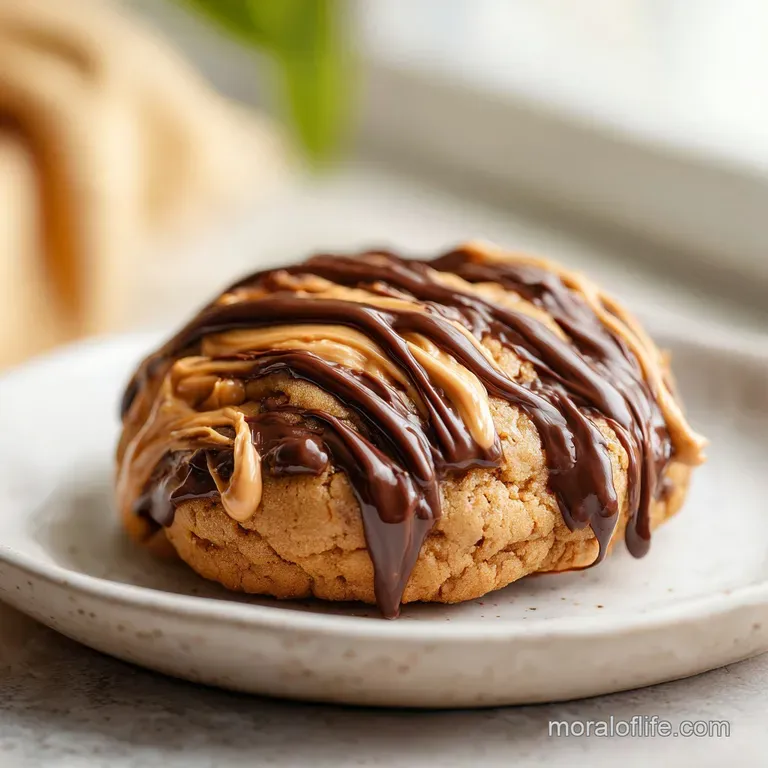
Puffy Peanut Butter Cookie with Chocolate
- Time: Active 15 minutes, Passive 10 minutes, Total 25 minutes
- Flavor/Texture Hook: Buttery, velvety center with a shatter crisp edge
- Perfect for: School bake sales, weekend treats, or beginner bakers
- The Ultimate Puffy Peanut Butter Cookie with Chocolate
- Why These Cookies Stay Puffy
- Understanding Your Recipe Components
- Choosing Your Baking Essentials
- Necessary Tools for the Kitchen
- Steps to Follow for Success
- Solving Common Baking Problems
- Troubleshooting Common Issues
- Simple Dietary Ingredient Swaps
- Keeping and Reheating Your Treats
- Best Ways to Enjoy Them
- The Truth About Baking Myths
- Recipe FAQs
- 📝 Recipe Card
The Ultimate Puffy Peanut Butter Cookie with Chocolate
You know that smell? That heavy, nutty aroma that wraps around you like a hug the second you open a jar of peanut butter? That's what hit me last Tuesday afternoon when I finally cracked the code on these.
I used to think a cookie had to be either thin and crispy or thick and cakey, but these managed to find that middle ground where the center stays soft and the edges have a slight snap.
Bake up the perfect Puffy Peanut Butter Cookie with Chocolate Chips using our simple recipe. I remember my first attempt at this I used the natural, runny peanut butter you have to stir. It was a disaster. The cookies turned into oily puddles on the tray, and I almost gave up on the idea entirely.
But after a few tweaks with the fats and the chilling time, I realized that the "puff" isn't just luck; it's a choice you make with your ingredients.
We've all been there, staring through the oven door, watching our hard work melt into one giant sheet pan pancake. It's frustrating! But with this method, you'll see them hold their shape and develop these beautiful cracks on top that catch the light.
You're going to love how these look on a cooling rack, especially with those dark chocolate chunks peeking through.
Why These Cookies Stay Puffy
Structural Stability: Using stabilized creamy peanut butter provides a higher melting point than pure butter, which helps the dough maintain its height during the initial blast of heat.
The Moisture Shield: Brown sugar is hygroscopic, meaning it grabs onto moisture and keeps the center of the cookie from drying out even after it cools.
Carbon Dioxide Trapping: The combination of creamed fats and baking soda creates a network of tiny air pockets that expand but don't collapse, giving that signature "puffy" look.
| Method | Time | Texture | Best For |
|---|---|---|---|
| Room Temp Dough | 10 mins | Wider spread, softer edge | Fast snacking |
| Chilled Dough (30m) | 12 mins | Maximum height, chewy center | Gourmet look |
| Frozen Dough | 14 mins | Very thick, molten middle | make-ahead prep |
This comparison shows how much control you have over the final shape just by playing with temperature. If you're in a rush, they still taste great, but if you want that bakery style thickness, give them a quick rest in the fridge before they hit the oven.
Understanding Your Recipe Components
| Ingredient | Science Role | Pro Secret |
|---|---|---|
| All purpose flour | Provides the gluten framework | Weigh it to avoid a dry, sandy bite. |
| Stabilized PB | Adds fat and flavor without separating | Don't use the "oil on top" natural kind here. |
| Brown Sugar | Adds acidity and moisture | Pack it tight to get that rich, molasses note. |
| Large Egg | Acts as the primary emulsifier | Use it at room temp for a smoother dough. |
The way these ingredients interact is what makes the difference between a crumbly mess and a velvety treat. For example, similar to the method used in my Chewy Peanut Butter recipe, the ratio of sugar to flour determines whether the cookie snaps or bends.
Choosing Your Baking Essentials
- 320g All purpose flour: Why this? Provides enough protein for a sturdy structure. (Substitute: 1:1 gluten-free baking flour)
- 1 tsp baking soda: Why this? Reacts with brown sugar for lift. (Substitute: 3 tsp baking powder)
- 0.5 tsp sea salt: Why this? Cuts through the heavy sugar and fat. (Substitute: 0.5 tsp table salt)
- 170g unsalted butter: Why this? Gives that classic dairy richness. (Substitute: Vegan butter sticks)
- 185g creamy stabilized peanut butter: Why this? Keeps the cookies from spreading thin. (Substitute: Almond butter must be stabilized)
- 200g light brown sugar: Why this? Creates the soft, chewy texture. (Substitute: Dark brown sugar for deeper flavor)
- 100g granulated white sugar: Why this? Helps the edges get slightly crisp. (Substitute: Coconut sugar)
- 1 large egg: Why this? Binds everything together effectively. (Substitute: 1/4 cup applesauce)
- 1.5 tsp vanilla bean paste: Why this? Adds a floral, deep aroma. (Substitute: Vanilla extract)
- 1.5 cups semi sweet chocolate chips: Why this? Provides classic chocolate balance. (Substitute: Milk chocolate chips)
- 0.5 cup dark chocolate chunks: Why this? Creates puddles of molten chocolate. (Substitute: Chopped chocolate bar)
Necessary Tools for the Kitchen
You don't need a professional kitchen to pull this off, but a few specific tools make the process much smoother. I personally love using a stand mixer because it aerates the butter and sugar much better than I can by hand.
If you're using a hand mixer, just make sure you beat the mixture for an extra minute to get that pale, fluffy look.
A cookie scoop is also a total lifesaver here. It ensures every cookie is the same size, which means they all finish baking at the exact same time. There’s nothing worse than having one burnt cookie and one raw one on the same tray.
Also, grab some parchment paper or a silicone mat; it prevents the bottoms from getting too dark too fast.
Steps to Follow for Success
Phase 1: Aerate the Base
Cream the 170g unsalted butter, 200g light brown sugar, and 100g granulated white sugar. Note: Beat for 3 full minutes until the mixture looks pale and has a cloud like texture.
Phase 2: Add the Binder
Mix in the 185g creamy peanut butter, then add the large egg and 1.5 tsp vanilla bean paste. Note: Don't overmix once the egg is in, or you'll lose those air bubbles.
Phase 3: Combine Dry Ingredients
Whisk together 320g all purpose flour, 1 tsp baking soda, and 0.5 tsp sea salt in a separate bowl.
Phase 4: Incorporate the Solids
Slowly add the flour mixture to the wet ingredients. Note: Stop as soon as you see the last streak of white flour disappear.
Phase 5: Fold and Chill
Gently fold in the 1.5 cups semi sweet chocolate chips and 0.5 cup dark chocolate chunks.
Phase 6: Portion the Dough
Scoop the dough into rounded tablespoons and place them on a tray.
Phase 7: The Chilling Rest
Place the tray in the fridge for at least 15 minutes. Note: This solidifies the fats so they don't melt instantly in the oven.
Phase 8: High Heat Bake
Bake at 350°F (180°C) for 10 minutes until the edges are golden and the tops look slightly set but soft.
Phase 9: The Carryover Cook
Let the cookies sit on the hot pan for 5 minutes. Wait until they firm up enough to lift without breaking.
Phase 10: Final Cooling
Move them to a wire rack. Note: This prevents the bottoms from becoming soggy from trapped steam.
Solving Common Baking Problems
Sometimes things go sideways in the kitchen, even for the pros. The most common issue with any cookie with chocolate is the temperature of the butter. If your butter is too soft (oily to the touch), the cookies will spread. If it’s too cold, they won't incorporate with the sugar properly.
Troubleshooting Common Issues
| Issue | Solution |
|---|---|
| Why are cookies so flat | If your cookies look like thin wafers, the dough was likely too warm when it hit the oven. This happens if you skip the chilling step or if your kitchen is very hot. Another culprit is using "natural" |
| Why are the bottoms burnt | This usually happens if you’re using a thin, dark metal baking sheet. Dark pans absorb more heat and can scorch the bottoms before the centers are done. Try doubling up your pans or using a silicone m |
| Why are they so dry | Over measuring flour is the number one cause of a crumbly, dry cookie. If you "scoop and level" with the measuring cup, you might be packing in 20% more flour than needed. Always fluff the flour first |
Common Mistakes Checklist
- ✓ Never use melted butter unless the recipe specifically calls for it (it ruins the aeration).
- ✓ Always use a room temperature egg to prevent the butter from curdling.
- ✓ Avoid using a "natural" stir style peanut butter for this specific recipe.
- ✓ Don't overbake the cookies should look slightly underdone when you pull them out.
- ✓ Measure your flour by weight (320g) rather than volume for total consistency.
Simple Dietary Ingredient Swaps
| Original Ingredient | Substitute | Why It Works |
|---|---|---|
| Butter | Refined Coconut Oil (solid) | Provides a similar fat structure. Note: Does not add coconut flavor if refined. |
| Large Egg | Flax Egg (1 tbsp meal + 3 tbsp water) | Acts as a binder. Note: Results in a slightly denser, nuttier cookie. |
| All purpose Flour | Oat Flour | High fiber and moisture. Note: Texture will be more fragile and soft. |
If you are looking for a boost in nutrients while keeping that nutty flavor, you might want to try making a batch of my Protein Balls recipe alongside these. They use similar ingredients but skip the baking step entirely.
Keeping and Reheating Your Treats
These cookies stay soft for a surprisingly long time because of the peanut butter fat content. You can keep them in an airtight container at room temperature for up to 5 days. If you find they are starting to firm up too much, toss a slice of plain white bread into the container.
The cookies will absorb the moisture from the bread and soften right back up. It’s a classic baker's trick that works every time.
For long term storage, these freeze beautifully. I actually prefer them straight out of the freezer sometimes they get this fudgy, truffle like consistency. You can freeze the baked cookies for up to 3 months. When you're ready for a treat, just pop one in the microwave for about 10-15 seconds.
It will revive that molten chocolate center and make the house smell like a bakery all over again.
Chef's Tip: If you want to use leftover scraps, crumble these cookies over vanilla bean ice cream or use them as a base for a decadent cheesecake crust.
Best Ways to Enjoy Them
There is nothing quite like a warm cookie paired with a cold glass of milk, but if you want to get fancy, try serving these with a cup of strong black coffee. The bitterness of the coffee cuts through the richness of the peanut butter and the sweetness of the chocolate chunks.
It’s a sophisticated pairing that makes a simple snack feel like a real dessert.
If you're serving these at a party, I suggest setting them out on a wooden board with some fresh raspberries. The tartness of the berries is a great contrast to the heavy, savory sweet profile of the peanut butter.
Just make sure you label them clearly for anyone with nut allergies they look so inviting that people tend to grab them without thinking!
- If you want more crunch, add 1/2 cup of chopped roasted peanuts to the dough.
- If you want a salty kick, sprinkle a tiny pinch of flaky Maldon salt on top right after baking.
- If you want a molten core, stick a single frozen chocolate truffle into the center of each dough ball.
The Truth About Baking Myths
One big myth is that you need to press down on peanut butter cookies with a fork to make them bake properly. While that "criss cross" pattern is iconic, it’s actually a holdover from old recipes that were so dense they wouldn't spread at all without help. For this puffy version, skip the fork!
We want them to stay tall and rounded.
Another misconception is that the "best" chocolate is always the most expensive. In reality, semi sweet chips are engineered to hold their shape in the heat, while expensive bars will melt and bleed into the dough.
Using a mix of both, like we do here, gives you the best of both worlds: structure and those beautiful molten puddles. Finally, don't believe that you have to use "real" peanut butter for the best flavor; for baking, the stabilized stuff actually provides a more consistent texture and a nostalgic, creamy taste that everyone loves.

Recipe FAQs
Can I substitute natural, runny peanut butter for the stabilized creamy kind?
No, this will cause excessive spreading. Natural peanut butter separates into oil and solids, leading to greasy, flat cookies because the emulsion necessary for structure is lost.
How to ensure the cookies stay thick and don't spread into flat discs?
Chill the dough for a minimum of 15 minutes before baking. Solidifying the fats in the refrigerator provides structural integrity, forcing the dough to rise upwards initially instead of melting outwards.
Is it true that pressing the dough with a fork is required for peanut butter cookies?
No, this is not necessary for this puffy recipe. Fork marks were traditionally used to help dense doughs spread, but this recipe achieves its texture through proper creaming and chilling, allowing the cookies to develop cracks naturally.
How can I keep the baked cookies soft for several days?
Store them with a slice of plain white bread in an airtight container. The cookies will absorb the bread's moisture, rejuvenating their soft texture overnight.
What is the best way to measure the flour to avoid dry cookies?
Weigh the flour using a digital scale for accuracy, aiming for 320 grams. Volume measuring often compacts the flour, leading to too much dry ingredient and a crumbly final product, a technique crucial for stable texture control here, similar to our Pineapple Upside Down recipe structure.
Can I prepare the dough ahead of time for later baking?
Yes, the dough freezes exceptionally well for long term storage. Scoop the dough balls, place them on a parchment lined tray, freeze until solid, then transfer to a freezer bag for up to three months.
How long should I cream the butter and sugars together?
Beat the butter and sugars for a full three minutes until the mixture is pale and fluffy. This process, called aeration, incorporates air bubbles which become the pockets that help the cookies rise and achieve a light texture.
Puffy Peanut Butter Cookies

Ingredients:
Instructions:
Nutrition Facts:
| Calories | 266 kcal |
|---|---|
| Protein | 4.0 g |
| Fat | 14.2 g |
| Carbs | 32.9 g |
| Fiber | 1.4 g |
| Sugar | 21.6 g |
| Sodium | 118 mg |
