Best Soft and Chewy Sugar Cookies
- Time: Active 15 minutes, Passive 10 minutes, Total 25 minutes
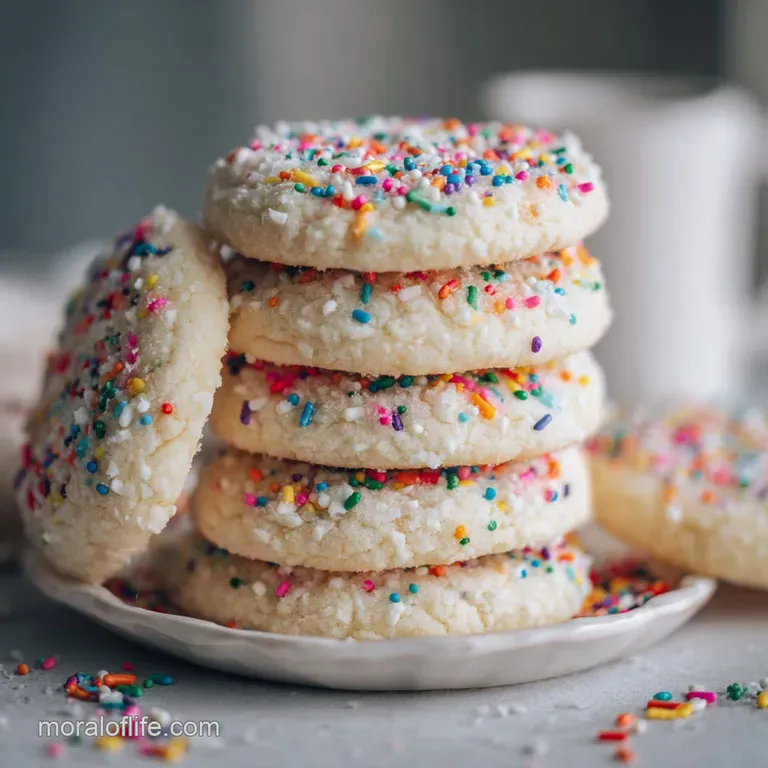
- Flavor/Texture Hook: Velvety centers with a slight sugary crunch
- Perfect for: Holiday parties, last minute gifts, or beginner bakers
Secret to the Best Soft and Chewy Sugar Cookies
The kitchen is quiet, the oven is humming at a steady heat, and then it happens. That first whiff of warm butter and vanilla hits you, drifting from the oven door. It's a smell that takes me back to my grandmother’s kitchen, but with a modern twist.
Most people think you need to chill cookie dough for hours or use fancy European butters to get that perfect bakery texture. Honestly, that’s a myth I’m happy to bust right now. You don't need a half day wait to get a cookie that bends instead of snaps.
I remember my first few attempts at making these. I followed "traditional" recipes that resulted in disks so hard you could use them as coasters. I was obsessed with finding that middle ground, a cookie that has a slight "shatter" on the outer edge but feels like a soft cloud in the middle.
After playing around with ratios and temperatures, I realized the secret isn't in the brand of flour or a 24 hour rest. It’s all about how you handle the ingredients you already have in your pantry.
These are the treats you bring to a potluck when you want everyone to ask for the recipe. We're talking about a simple mixing process that yields a result so reliable it feels like cheating. Forget the pressure of decorating with complex royal icing, these stand alone with just a simple roll in granulated sugar.
They are unpretentious, nostalgic, and absolutely addictive. Let's get into what actually makes this recipe tick so you can have a warm tray ready in under half an hour.
Why This Works
Making the best soft and chewy sugar cookies isn't about luck, it's about managing moisture and gluten. When we bake, we're essentially running a tiny experiment in our oven.
- Cornstarch Barrier: This creates a more tender crumb by getting in the way of gluten strands, ensuring the center stays velvety rather than bread like.
- Chemical Leavening Balance: The combo of baking soda and cream of tartar creates a quick rise and fall, which gives us those beautiful crinkly tops and a soft bite.
- Creaming Technique: Beating the butter for a full 3 minutes aerates the fat, which provides the structure needed to keep the cookies from turning into flat puddles.
- Residual Heat Cooking: Pulling these out when they look slightly "wet" in the middle allows the tray's heat to finish the job without drying out the edges.
| Feature | Fresh From Scratch | store-bought Shortcut |
|---|---|---|
| Texture | Soft, pillowy, and buttery | Often greasy or excessively crunchy |
| Flavor | Strong vanilla and real butter notes | Artificial vanilla and preservative aftertaste |
| Customization | Easy to add spices or citrus zest | Limited to what is in the package |
There is a huge difference between a cookie made with real softened butter and one made from a tube of pre mixed dough. While shortcuts are great for a Tuesday night craving, the fresh version provides a depth of flavor that comes from that 3 minute creaming process.
If you've ever wondered why bakery cookies taste "expensive," it's usually just the quality of the vanilla and the timing of the bake.
The Building Blocks
The ingredients in this recipe are standard, but how they interact is what creates the magic. We aren't just tossing things in a bowl, we're building a foundation for texture. If you are looking for a different vibe, you might enjoy a Sweet Potato Cookies recipe for something more spiced and seasonal.
| Component | Role in the Bake | Pro Secret |
|---|---|---|
| Unsalted Butter | Provides fat for flavor and spread | Use cool room temp, not "melty" soft |
| Granulated Sugar | Sweetens and creates crispy edges | Rolling the dough in sugar adds the "shatter" |
| Cream of Tartar | Adds a signature tang and prevents sugar crystallization | This is the "secret" to the chewy, bendy texture |
| Vanilla Extract | The primary flavor profile | Use pure extract over imitation for a floral aroma |
Using the right ingredients is half the battle. For example, using "pure" vanilla extract instead of the imitation stuff makes a massive difference in the final aroma. The imitation versions often have a bitter back note that becomes more obvious as the cookies cool.
For the Cookie Dough
- 1 cup (226g) unsalted butter, softened: Why this? Essential for that classic melt in-your mouth fat content.
- Substitute: Salted butter (just omit the sea salt in the recipe).
- 1 1/4 cups (250g) granulated sugar: Why this? Provides the sweetness and helps the edges crisp up.
- Substitute: Light brown sugar (will make the cookie more caramel colored and denser).
- 1 large egg, room temperature: Why this? Binds the dough and adds moisture.
- Substitute: 1/4 cup of unsweetened applesauce (results in a puffier, cake like cookie).
- 1 tablespoon pure vanilla extract: Why this? The backbone of the flavor; don't skimp here.
- Substitute: Almond extract (use only 1/2 teaspoon as it is very strong).
- 2 3/4 cups (345g) all purpose flour, spooned and leveled: Why this? Provides the structure without being too heavy.
- Substitute: 1 to-1 gluten-free flour blend (ensure it contains xanthan gum).
- 2 teaspoons cornstarch: Why this? Softens the flour's proteins for a tender bite.
- Substitute: Extra 2 teaspoons of flour (but the cookie will be slightly tougher).
- 1 teaspoon baking soda: Why this? Helps the cookies spread and brown.
- Substitute: 3 teaspoons baking powder (omit the cream of tartar if you do this).
- 1/2 teaspoon cream of tartar: Why this? Gives the cookie its "chew" and a slight tangy lift.
- Substitute: 1/2 teaspoon lemon juice (add to the wet ingredients instead).
- 1/2 teaspoon fine sea salt: Why this? Balances the sugar and enhances the butter.
- Substitute: Table salt (use slightly less as it's more concentrated).
- 1/4 cup (50g) granulated sugar (for rolling): Why this? Creates the iconic sparkly, crunchy exterior.
- Substitute: Sparkling sugar or colored sprinkles for a festive look.
Equipment Needed
You don't need a professional pastry kitchen to pull this off. A simple hand mixer or a stand mixer (like a KitchenAid) is your best friend here because it does the hard work of aeration that a wooden spoon just can't manage.
I’ve tried making these by hand during a power outage once, and while they tasted fine, they lacked that signature "lift" that comes from a high speed beat.
You'll also need two large baking sheets. I prefer rimless sheets because they allow for better airflow, but any standard cookie sheet will do. Lining them with parchment paper or a silicone mat is non negotiable for me. It prevents the bottoms from browning too quickly and makes cleanup a breeze.
Plus, you won't have to worry about your cookies sticking and breaking when you try to move them.
Finally,, grab a cookie scoop if you have one. It’s the easiest way to ensure every cookie is exactly the same size. This isn't just for looks; cookies that are the same size bake at the same rate.
If you have some giant ones and some tiny ones on the same tray, the little guys will burn before the big ones are even set.
From Prep to Plate
- Preheat your oven to 350°F (180°C) and line two large baking sheets with parchment paper or silicone mats. Note: Starting with a hot oven ensures the cookies "set" quickly so they don't spread into one giant sheet.
- In a large bowl or stand mixer, beat the softened butter and 1 1/4 cups of sugar together on medium high speed for 3 minutes until pale and whipped.
- Add the egg and vanilla extract to the butter mixture, beating until fully incorporated and smooth.
- In a separate bowl, whisk together the flour, cornstarch, baking soda, cream of tartar, and salt. Note: Whisking helps remove lumps and distributes the leavening agents evenly.
- Turn the mixer to the lowest setting and gradually add the dry ingredients to the wet ingredients, mixing only until the last streak of flour disappears.
- Scoop rounded tablespoons of dough (about 1.5 to 2 tablespoons each) and roll them between your palms until they are smooth balls.
- Roll each ball in the small bowl containing the extra 1/4 cup of sugar until fully coated and sparkling.
- Place dough balls on the prepared baking sheets at least 2 inches apart to allow for spreading.
- Bake for 9-11 minutes until the edges are set but the centers look puffy.
- Allow the cookies to cool on the hot baking sheet for at least 5-10 minutes until they firm up enough to move. Transfer to a wire rack to finish.
Common Mistakes & Troubleshooting
Even with a simple recipe, things can go sideways. The most common issue I see is people over baking these. Because the dough is so pale, it’s tempting to wait for the tops to turn golden brown. Don't do it!
By the time the tops are brown, the cookie is already overcooked and will be crunchy rather than chewy once it cools.
Why Your Cookies Spread Too Much
If your cookies look like thin pancakes, your butter was likely too warm. Butter should be "cool room temperature" meaning you can press it with your thumb and leave an indentation, but it shouldn't be shiny or greasy.
If it's too soft, it won't hold the air bubbles you're trying to beat into it during the creaming stage, and the dough will lose its structure the second it hits the heat.
The "Hard Rock" Result
If your cookies are tough, you might have over mixed the flour. Once the flour goes in, you want to be as gentle as possible. Over mixing develops the gluten, which is great for bread but terrible for a soft cookie. Another culprit could be the flour measurement.
If you scoop the flour directly with the measuring cup, you're packing it down and using too much. Use the "spoon and level" method for accuracy.
Lack of Flavor
If the cookies taste "flat," check your salt. Salt is what makes the sugar and vanilla pop. If you skipped it because you think sugar cookies should only be sweet, you're missing out on the complexity that makes this the best soft and chewy sugar cookie recipe.
Also, ensure your baking soda isn't expired; old leavening won't provide the right lift, which affects the texture and flavor perception.
| Problem | Root Cause | Solution |
|---|---|---|
| Flat Cookies | Butter was too soft/melted | Chill the dough balls for 15 mins before baking |
| Dry/Crumbly | Too much flour in the mix | Spoon flour into the cup instead of scooping |
| No "Chew" | Omitted the cream of tartar | Always use tartar for that signature bendy texture |
Common Mistakes Checklist
- ✓ Ensure your egg is at room temperature to prevent the butter from curdling.
- ✓ Use a kitchen scale for the flour (345g) to get the most consistent results.
- ✓ Don't skip the 3 minute creaming time; it's vital for the cookie's lift.
- ✓ Pull the cookies out when the centers still look slightly "underdone."
- ✓ Check that your baking soda is fresh by dropping a bit in vinegar (it should fizz!).
Why the Butter Goes In Cool
Understanding the "why" behind the temperature helps you become a better baker. If the butter is too warm, the sugar crystals slide right through it without creating those tiny air pockets we need. If it's too cold, it won't incorporate with the sugar at all.
That 3 minute creaming session is essentially us building a "mesh" of fat and air that will hold up the flour.
If you are a fan of different textures, you might want to compare this to a Classic Snickerdoodles recipe, which uses a similar base but focuses more on the cinnamon sugar interaction. The science is the same: the cream of tartar works with the baking soda to create a specific type of rise that results in a soft, crackled surface.
Make It Your Own
Once you have the base down, you can really start to play. This recipe is like a blank canvas. If you want a bit of a citrus kick, try rubbing the zest of one lemon into the sugar before you cream it with the butter.
The oils from the lemon will infuse the entire batch with a bright, fresh aroma that pairs beautifully with the vanilla.
2 Flavor Twists
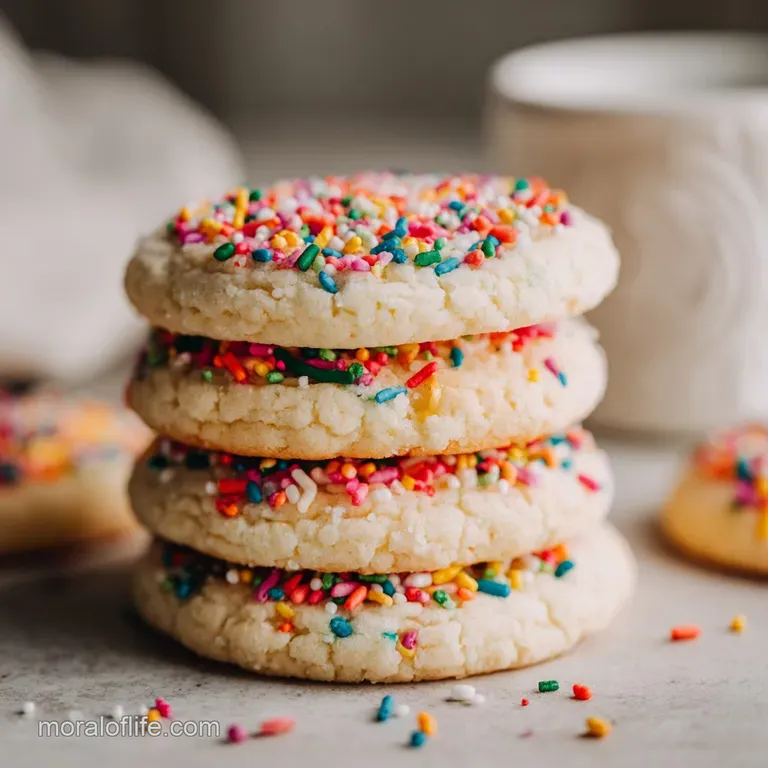
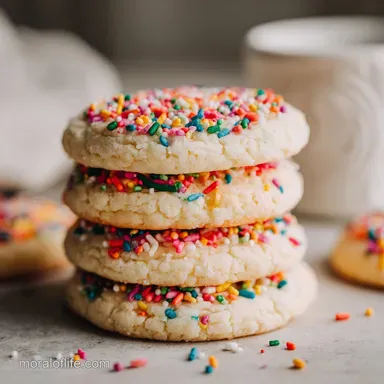
For a "birthday cake" vibe, fold in 1/2 cup of rainbow sprinkles (the long "jimmie" kind work best) right at the end of mixing. It makes the cookies look festive and adds a tiny bit of extra crunch. Another favorite in my house is adding a pinch of nutmeg or cardamom to the dry ingredients.
It gives the cookies an "old-fashioned" bakery flavor that feels very cozy and high end.
2 Diet Swaps
If you need to go dairy-free, you can swap the butter for a high-quality vegan butter stick (like Miyoko's). Avoid the tubs of spreadable margarine, as they have too much water and will cause the cookies to spread too much.
For a gluten-free version, a cup for-cup blend works remarkably well here because the cornstarch already helps with the texture, making it less obvious that the wheat is missing.
| Servings | Butter | Flour | Sugar | Pan Size |
|---|---|---|---|---|
| 12 cookies | 1/2 cup (113g) | 1 3/8 cups | 5/8 cup | 1 sheet |
| 24 cookies | 1 cup (226g) | 2 3/4 cups | 1 1/4 cups | 2 sheets |
| 48 cookies | 2 cups (452g) | 5 1/2 cups | 2 1/2 cups | 4 sheets |
Myths About Sugar Cookies
One of the biggest misconceptions is that "the more vanilla, the better." While I love vanilla, there is a point of diminishing returns. If you use too much, the alcohol in the extract can actually affect the structure of the cookie.
Stick to the tablespoon called for it’s plenty for a rich, floral flavor without compromising the bake.
Another myth is that you need to press the cookies down with a fork before baking. For this specific recipe, we want the "ball" shape to go into the oven. As the heat hits the fat, the ball will naturally slump and spread, creating that thick, chewy center and thin edge.
If you press them flat beforehand, they will end up way too thin and likely crunchy all the way through.
Storage & Zero Waste
These cookies are champions of longevity. Because of the sugar content and the cornstarch, they stay soft for about 4 to 5 days if kept in an airtight container at room temperature. If they do start to get a little firm, a classic trick is to pop a slice of plain white bread into the container with them.
The cookies will actually pull the moisture out of the bread, softening them back up overnight.
For long term storage, these freeze beautifully. You can freeze the baked cookies for up to 2 months. I like to wrap them in pairs in plastic wrap and then put them all in a freezer bag. This way, I can grab just two when the craving hits.
To reheat, just let them sit on the counter for 15 minutes or give them 10 seconds in the microwave for that "just out of the oven" feel.
If you have leftover dough scraps or a few broken cookies, don't throw them away! Crumble them up and use them as a topping for vanilla ice cream, or fold them into a batch of brownie batter for a "cookie dough" brownie. You can even pulse dry cookies in a food processor to make a crust for a cheesecake.
Serving Suggestions
These are obviously a match made in heaven for a tall glass of cold milk, but they also make incredible ice cream sandwiches. Since they stay soft even when cold, you won't break a tooth trying to bite through them.
Just take two cooled cookies, put a scoop of strawberry or salted caramel ice cream in the middle, and press gently.
If you're serving these at a party, they look beautiful on a wooden board paired with some fresh berries. The acidity of raspberries or blackberries cuts through the buttery sweetness of the cookie perfectly.
They also hold up well as a base for a "dessert pizza" if you want to spread a little cream cheese frosting on top and decorate with fruit. Whatever you do, just make sure you have enough, because in my experience, one is never enough.

Recipe FAQs
How to ensure the cookies stay soft and chewy?
Bake until the edges are set but the centers look slightly underbaked and puffy. Removing them from the oven at this stage prevents the moisture from evaporating completely, which keeps them soft even after they cool.
How to tell when the cookies are done?
Watch for set edges rather than golden brown tops. If you wait for the tops to turn brown, the cookie will be crunchy; if you mastered these sensory doneness cues here, you can apply the same logic to our brown butter cookie for perfect results.
Is it true that I should brown the butter for extra flavor?
No, this is a common misconception for this specific recipe. You must use the softened, room temperature butter as directed to achieve the light, whipped texture that creates the desired chewiness.
How to soften cookies that have become firm?
Place a slice of plain white bread into the airtight container with the cookies. The cookies will absorb moisture from the bread overnight, effectively restoring their soft texture.
How to store these cookies for the long term?
Wrap the baked cookies in pairs using plastic wrap and freeze for up to 2 months. This method keeps them fresh and prevents them from absorbing any odors in your freezer.
How to prevent the cookies from spreading too thin?
Beat the butter and sugar for the full 3 minutes until pale and whipped. This proper aeration ensures the structure is strong enough to hold its shape during the 9 11 minute bake time.
How to properly measure the flour?
Use the spoon and-level method to measure your flour. Gently spoon the flour into the measuring cup and level it off with a knife, as scooping directly with the cup packs the flour down and leads to dry, cakey cookies.
Soft And Chewy Sugar Cookies
Ingredients:
Instructions:
Nutrition Facts:
| Calories | 174 calories |
|---|---|
| Protein | 1.8g |
| Fat | 8g |
| Carbs | 24g |
| Fiber | 0.4g |
| Sugar | 13g |
| Sodium | 78mg |
