Beef Nachos: Savory and Crisp
- Time: Active 15 minutes, Passive 15 minutes, Total 30 minutes
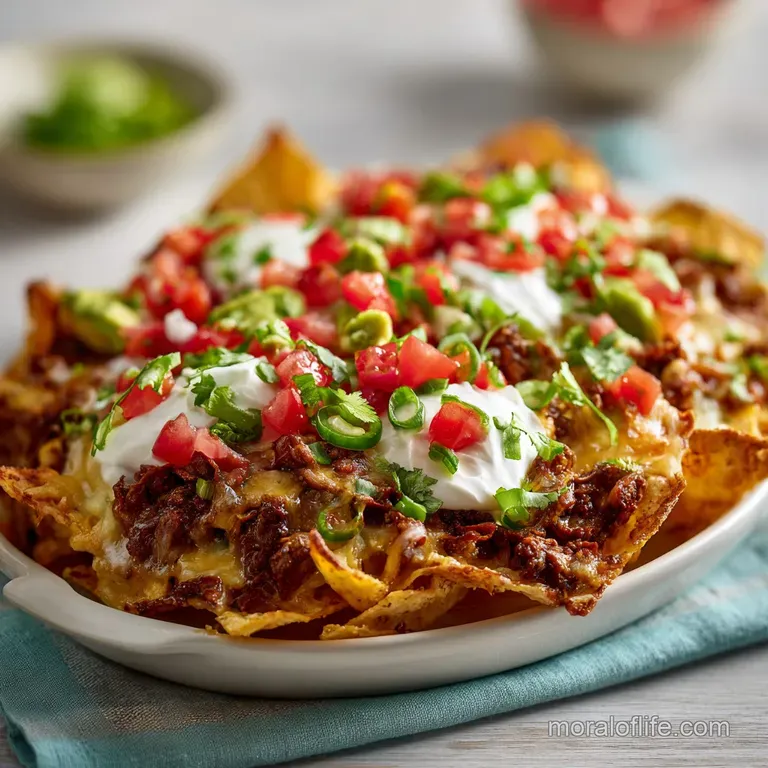
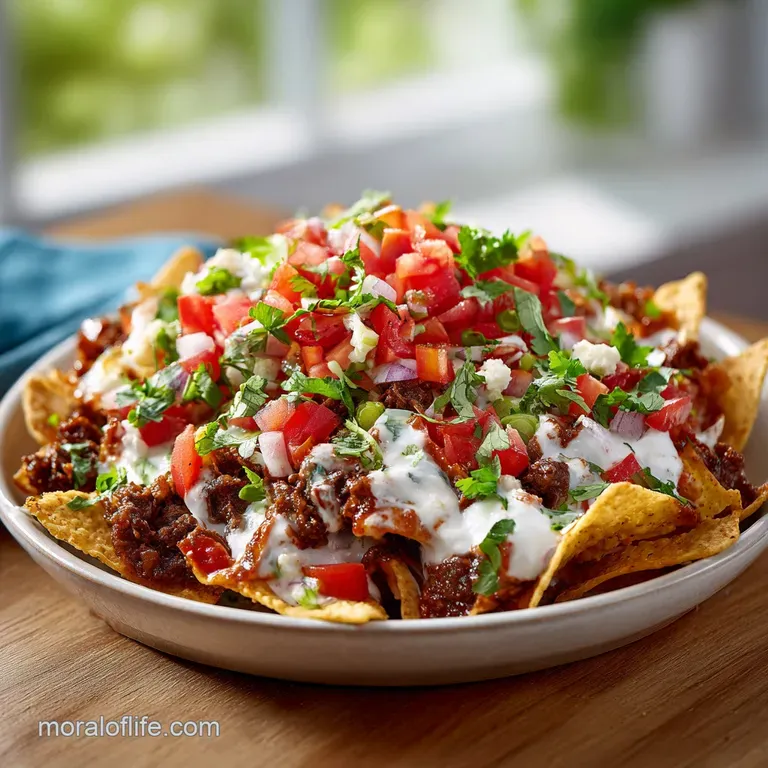
- Flavor/Texture Hook: A shatter crisp chip base topped with velvety cheese and savory, seared beef.
- Perfect for: A normal Tuesday dinner or a dependable game day crowd pleaser.
How to Make the Most Dependable Beef Nachos Ever
Did you know that the original nacho wasn't a mountain of toppings, but a carefully curated bite of a single chip, cheese, and a jalapeño? It was created in 1943 by Ignacio "Nacho" Anaya for a group of military wives in a pinch, and while we’ve certainly expanded the concept, the core goal remains the same: the perfect ratio.
There is nothing more disappointing than reaching for a chip only to have it limp and soggy under the weight of lukewarm meat, and that is exactly the problem we are solving today.
I remember the exact moment I realized I was doing nachos wrong. It was a rainy Tuesday, and I’d just pulled a "nacho mountain" out of the oven. The top looked great, but as soon as we started eating, the middle was a swamp of un melted cheese and steam softened corn chips. It was a mess.
I realized that restaurant style success isn't about how much you pile on, but how you build the layers to protect the integrity of the crunch.
Today, we’re talking about a version of Beef Nachos that uses a "Cheese Barrier" and a over high heat sear to ensure every single chip remains structural and savory. We are moving away from the "pile and pray" method and toward a dependable, architectural approach.
This isn't just a snack, it's a meal that hits every sensory note from the sharp tang of pickled jalapeños to the cool, velvety dollop of Greek yogurt.
Why This Recipe Works
- The Hydrophobic Seal: By placing a thin layer of cheese directly onto the chips before the meat, we create a fat based barrier that prevents the moisture from the beef and pico de gallo from soaking into the cornmeal.
- Maillard Mastery: Searing the beef in avocado oil over high heat creates a deep crust, adding complex savory notes that a simple simmer cannot achieve.
- The Liquid Reduction: Using bone broth instead of water to bloom the taco seasoning adds gelatin and protein, which helps the sauce coat the meat rather than running off into the chips.
- Dual Cheese Dynamics: Combining sharp white cheddar for flavor and pepper jack for its superior melting point ensures both a "cheese pull" and a bold taste profile.
| Method | Time | Texture | Best For |
|---|---|---|---|
| Sheet Pan Oven | 15 minutes | Uniformly crispy chips | Feeding a family of 5 |
| Cast Iron Stovetop | 20 minutes | Extra crispy bottom layers | Smaller batches (2-3 people) |
| Air Fryer | 8 minutes | Ultra crunchy, quick melt | Single servings/Quick lunch |
Choosing the right method depends entirely on how many people you're feeding, but for this specific recipe, the sheet pan is king because it allows for the widest surface area. When you spread the chips out, you avoid the "steam pocket" that happens in deep bowls, ensuring that the hot air hits every edge.
If you're looking for other ways to use this savory meat base, you might want to try my Ground Beef Tacos recipe which uses a similar seasoning profile for a different format.
Deep Dive Into Our Flavor Components
To get that restaurant style finish at home, we have to look at our ingredients as functional tools. The chips aren't just a vehicle; they are the floor of our building. The beef isn't just protein; it's the seasoning delivery system.
When we understand what each component does under heat, we can manipulate them for the best results.
| Ingredient | Science Role | Pro Secret |
|---|---|---|
| 1 lb Ground Beef (90/10) | Provides structure and savory fat | Don't drain the fat after searing, it carries the taco spice flavors. |
| Thick cut Tortilla Chips | Heat resistant base | Choose chips with visible "bubbles" as they trap more cheese. |
| Sharp White Cheddar | Flavor and fat content | Always grate from a block, pre shredded cheese has cellulose that prevents melting. |
| Bone Broth | Emulsification agent | The collagen helps the taco seasoning "stick" to the beef fibers. |
By using a lean 90/10 beef, we ensure there is enough fat to flavor the meat without leaving a pool of grease on the sheet pan. If you happen to have leftovers of this seasoned meat, it actually works perfectly as a shortcut for a Taco Meat Recipe later in the week.
Essential Tools for Success
You don't need a kitchen full of gadgets, but a few specific items make a massive difference. First, a large rimmed sheet pan is non negotiable. The rim keeps the cheese from sliding off into your oven, and the large surface area prevents overcrowding.
If you use a small pan, the chips will overlap too much, and the ones in the middle will stay cold while the edges burn.
A heavy cast iron skillet is the best tool for browning the beef. It retains heat much better than stainless steel, which means when you drop that pound of cold beef into the pan, the temperature doesn't plummet. This allows for that "mahogany" sear we’re looking for. Finally, a box grater is your best friend.
I know it’s a workout, but freshly grated cheese melts at a lower temperature and creates a much smoother texture than anything you can buy in a bag.
The Importance of Surface Area
When we talk about minimal tools, the sheet pan is the ultimate multitasker. It allows the chips to breathe. If you've ever had nachos where the top is burnt and the bottom is cold, it’s because the heat couldn't circulate.
By spreading 10 oz of chips across a standard 18x13 inch pan, you’re giving the oven's convection a chance to crisp everything simultaneously.
Bringing the Beef Nachos to Life
Right then, let's get into the actual process. This moves fast once the beef is ready, so make sure your oven is preheated and your toppings are chopped before you start the sear.
- Heat the Skillet: Place your cast iron skillet over medium high heat and add 1 tbsp of avocado oil. Note: Avocado oil has a high smoke point, so it won't burn during the sear.
- Sear the Beef: Add 1 lb of lean ground beef to the hot skillet. Break it into large chunks with a wooden spoon, but then leave it alone for 3 minutes. Cook until the bottom is a deep mahogany brown.
- Season and Simmer: Break the beef into smaller crumbles and stir in 2 tbsp of taco seasoning and 0.25 cup of bone broth. Simmer for 3-5 minutes until the liquid has reduced to a thick glaze.
- Prepare the Base: Preheat your oven to 400°F (200°C). Lay out 10 oz of thick cut tortilla chips on a large rimmed sheet pan in a single, slightly overlapping layer.
- The Cheese Barrier: Sprinkle 0.5 cup of the grated white cheddar directly onto the plain chips. Note: This acts as our waterproof seal against the meat.
- Layer the Protein: Distribute the seasoned beef evenly over the cheese dusted chips.
- Final Cheese Layer: Top the beef with the remaining 1.5 cups of white cheddar and 1 cup of pepper jack cheese.
- The over High heat Bake: Slide the pan into the oven and bake for 5-7 minutes. Bake until the cheese is bubbly and the chip edges are just beginning to darken.
- The Fresh Finish: Remove from the oven and immediately top with 1 cup of pico de gallo, 1 diced avocado, and 0.5 cup of sliced radishes.
- The Final Touch: Add dollops of 0.5 cup plain Greek yogurt and 0.25 cup pickled jalapeños across the surface before serving.
What Can Go Wrong
The most common heartbreak with nachos is the "The Great Slide." This is when you pull a chip and the entire topping layer slides off in one piece. This usually happens because the cheese wasn't integrated into the layers or the meat was too greasy.
Why Your Chips Are Soggy
If you find the center of your nacho tray is wet, it's usually because the pico de gallo was added too early or the meat wasn't simmered long enough. The bone broth needs to be almost entirely evaporated, leaving only a concentrated flavor coating behind.
If there is standing liquid in your skillet, it will end up at the bottom of your chip pile.
| Problem | Root Cause | Solution |
|---|---|---|
| Burnt Chip Edges | Oven rack too high | Move the tray to the center rack for even radiant heat. |
| Greasy Texture | Using 80/20 beef | Drain the fat before adding spices or use 90/10 lean beef. |
| Clumpy Cheese | Pre shredded cheese | Use a block of cheese and grate it fresh to avoid anti clumping agents. |
Common Mistakes Checklist
- ✓ Never use thin, "restaurant style" chips; they shatter under the weight of the beef. Look for "thick cut" or "kettle cooked" corn chips.
- ✓ Don't skip the bone broth; the gelatin is what makes the meat feel velvety rather than grainy.
- ✓ Avoid the microwave at all costs. It vibrates water molecules, which turns the starches in the corn chips into a chewy, rubbery mess.
- ✓ Ensure the pico de gallo is drained of excess juice in a fine mesh sieve before topping.
- ✓ Wait to add the Greek yogurt until the very last second so it stays cold against the hot chips.
Make It Your Own
If you are cooking for a larger crowd, scaling this recipe is quite simple. However, don't just double the chips on one pan. If you go up to 2 lbs of beef and 20 oz of chips, you must use two separate sheet pans. Stacking the chips deeper will only lead to those cold, dry pockets we’re trying to avoid.
Scaling Guidelines
- For 10 People: Double all ingredients but use two 400°F ovens if possible, or bake in two batches. Reduce the salt in your taco seasoning slightly as it concentrates during the simmer.
- For 2 People: Use half a pound of beef and a smaller quarter sheet pan. You can use a toaster oven at 400°F for 5 minutes for a very quick version.
Debunking Nacho Myths
One big myth is that you should use "Nacho Cheese Sauce" for the best texture. While that processed stuff has its place at the ballpark, it actually contains a lot of water which eventually migrates into the chips. Real shredded cheese provides a much better fat to moisture ratio for home baking.
Another myth is that you need to cook the toppings. Fresh toppings like radishes and avocado should never see the inside of the oven. The contrast between the scorching hot beef and the ice cold, crisp radishes is what makes the flavor profile pop. Heating an avocado just makes it bitter and oily.
Keeping It Fresh
Nachos are notoriously difficult to store, but it’s not impossible if you’re strategic. The best way to handle leftovers is to separate the components before you even start if you know you won't finish them.
- Storage: Store the seasoned beef in an airtight container in the fridge for up to 4 days. Keep the chips in their original bag.
- Reheating: Never reheat fully assembled nachos. Instead, put a fresh layer of chips on a tray, add the leftover cold beef and extra cheese, and bake at 400°F for 4 minutes.
- Zero Waste: If you have leftover radishes or jalapeños, toss them into a quick pickling liquid (vinegar, water, sugar, salt) and keep them in a jar. They’ll be even better for your next batch. The beef scraps can be tossed into a morning omelet or used as a filling for Beef Enchiladas.
Perfect Complements
While these nachos are a full meal on their own, pairing them with the right beverage or side can change the experience. I personally love serving these with a very cold hibiscus tea or a crisp lime sparkling water. The acidity helps cut through the richness of the cheddar and the fat of the beef.
If you want to go the extra mile, a side of charred corn salad (esquites) provides a sweet crunch that balances the spicy kick of the pepper jack. But honestly, a normal Tuesday usually just calls for the sheet pan, a stack of napkins, and maybe a little extra pico de gallo on the side.
This dish is about dependable comfort, and once you master the "Cheese Barrier" technique, you'll never look at a bag of chips the same way again.

Recipe FAQs
What to put in beef for nachos?
Combine ground beef with taco seasoning and bone broth. The bone broth adds essential gelatin, which creates a velvety texture that coats the beef instead of leaving it dry or grainy.
Is nacho cheese diabetic friendly?
No, standard processed nacho cheese is generally not recommended. Using freshly grated sharp white cheddar and pepper jack provides better quality fats and proteins, though you should always monitor portion sizes regarding the carbohydrate load from the tortilla chips.
How should I season my meat for nachos?
Add 2 tablespoons of taco seasoning after achieving a deep mahogany sear on your beef. If you mastered the searing technique here to develop flavor, you can apply the same principle to our pepper steak recipe for consistent browning.
Do you put taco seasoning on nacho meat?
Yes, apply it once the meat is browned. Stirring the seasoning in with the bone broth and simmering for 3-5 minutes allows the flavors to reduce into a rich, flavorful glaze that adheres to the beef.
How to prevent soggy nachos?
Create a cheese barrier by sprinkling 1/2 cup of cheese directly onto the chips before adding the meat. This layer acts as a hydrophobic seal that protects the structural integrity of the thick cut corn chips during the 5-7 minute bake time at 400°F.
Is it true I can use thin restaurant style chips for beef nachos?
No, this is a common misconception. Thin chips will shatter under the weight of the seasoned beef; always choose thick cut or kettle cooked chips to ensure they can hold the toppings.
How to finish the dish for the best texture?
Remove the sheet pan from the oven and immediately top with fresh components. Add the drained pico de gallo, diced avocado, pickled jalapeños, and sliced radishes, but save the dollops of Greek yogurt for the very last second so it remains cold against the hot beef.
Easy Beef Nachos

Ingredients:
Instructions:
Nutrition Facts:
| Calories | 808 kcal |
|---|---|
| Protein | 42.8 g |
| Fat | 52.2 g |
| Carbs | 41.2 g |
| Fiber | 5.1 g |
| Sugar | 2.4 g |
| Sodium | 715 mg |
