Easy Coffee Syrup Recipe
- Time: Active 2 minutes, Passive 8 minutes, Total 10 minutes
- Flavor/Texture Hook: Glossy, velvety, and perfectly balanced sweetness
- Perfect for: Daily morning routines, budget-friendly meal prep, and DIY gift baskets
- Master This 10 Minute Coffee Syrup Recipe
- Why This Rich Syrup Tastes Better
- Quick Specs for Consistent Results
- Gathering Your Essential Kitchen Elements
- Essential Tools for Every Batch
- Detailed Steps for Smooth Results
- How to Avoid Common Mistakes
- Best Ways to Adapt Diets
- Smart Storage and Waste Tips
- Perfect Ways to Serve This
- Recipe FAQs
- 📝 Recipe Card
Master This 10 Minute Coffee Syrup Recipe
We've all been there standing in line at a local cafe, watching the barista pump that shimmering, golden liquid into a cup and realizing you're about to pay eight dollars for what is essentially sugar and water. It's a bit of a wake up call, right?
I remember the first time I tried to recreate that magic at home; I ended up with a rock hard block of amber candy stuck to the bottom of my saucepan because I thought "longer is better." I was wrong, and my favorite small pot paid the price.
Since that sticky disaster, I’ve spent countless Tuesday mornings tweaking the ratios and the heat until I found the sweet spot. It isn't just about melting sugar; it’s about achieving that specific, velvety weight that hangs in the coffee without sinking like a stone or tasting like a chemical experiment.
Once you see how easy it is to get that perfect clear pour, you’ll never look at those store-bought plastic bottles the same way again.
This recipe is our baseline the dependable foundation that makes your kitchen smell like a professional roastery. We are skipping the fancy distractions and focusing on the technique that ensures your syrup stays liquid and doesn't turn into "sand" in the fridge.
Let's get into the logic of why this simple syrup recipe for coffee works so much better than a haphazard mix.
Why This Rich Syrup Tastes Better
The magic of a great coffee syrup recipe lies in the balance between sweetness and stability. When we heat the sugar with water, we aren't just making it wet; we are creating a concentrated solution that stays fluid. If you love the thick texture of a Dalgona Coffee Recipe, you’ll appreciate how a well made syrup provides that same structural body to your drink without the arm workout.
- Saturation Point: Using a 2:1 ratio of sugar to water creates a "rich" syrup that has more body and a longer shelf life than the standard 1:1 mix.
- Inversion Process: Adding a tiny bit of acid (lemon juice) breaks down sucrose into glucose and fructose, which prevents the syrup from crystallizing into hard chunks.
- Mineral Balance: A tiny pinch of sea salt doesn't make it salty; it acts as a flavor "unlocker" that cuts through the bitterness of dark roasts.
- Evaporation Control: Simmering for exactly 8 minutes ensures the water content is reduced just enough to concentrate the sweetness without scorching.
| Method | Time | Texture | Best For |
|---|---|---|---|
| Cold Stir | 15 minutes | Thin/Watery | Quick emergencies only |
| Standard Simmer | 10 minutes | Silky/Glossy | Daily coffee and lattes |
| Reduced Boil | 20 minutes | Thick/Tacky | Dessert toppings or drizzles |
Choosing the right method depends on how much time you have, but for a dependable morning brew, the simmer method is the gold standard. It provides that classic starbucks copycat coffee syrup feel without the artificial aftertaste.
Quick Specs for Consistent Results
To get this right every single time, we need to focus on a few specific numbers. Most people guess when the syrup is done, but the difference between "runny sugar water" and "cafe quality syrup" is about three minutes of boiling time.
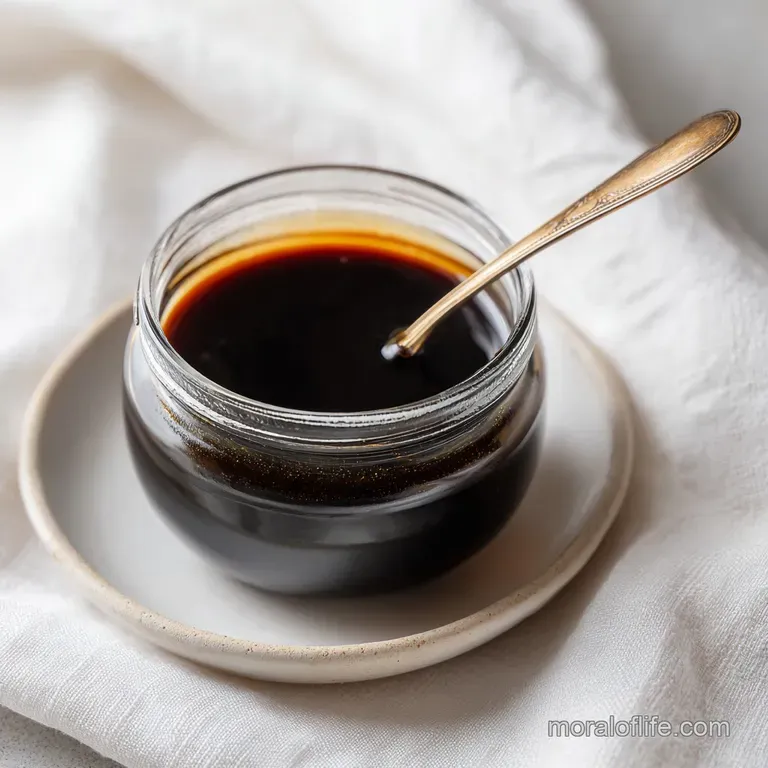
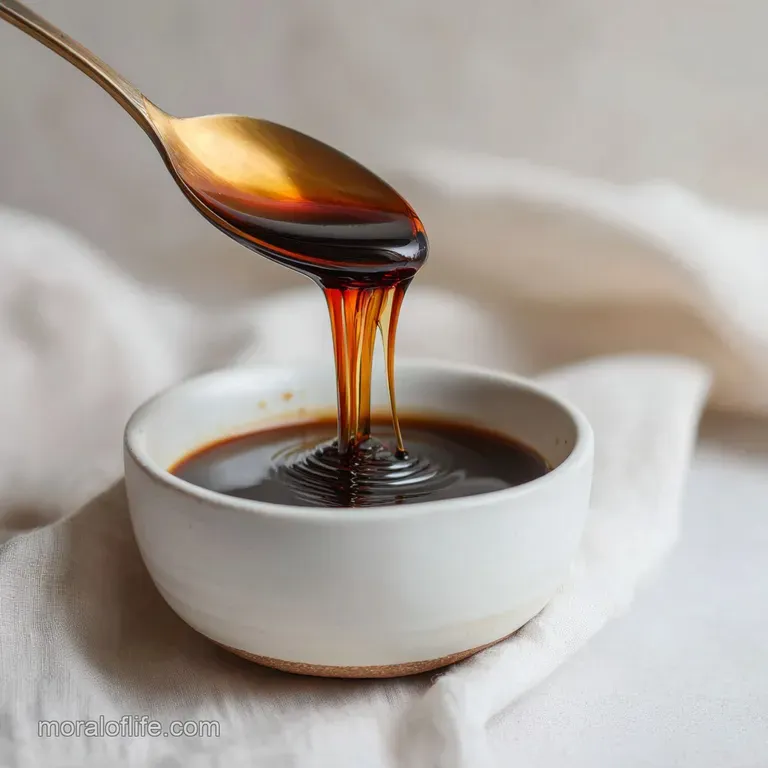
We want a final product that coats the back of a spoon but still pours freely when chilled.
The Saturation Secret
When we talk about a "rich" syrup, we are looking for a specific viscosity. The 1 cup (200g) of sugar to 1/2 cup (120ml) of water ratio is non negotiable for that premium feel. It creates a heavier liquid that emulsifies better with the fats in your milk or cream.
Flavor Anchoring Science
The pinch of salt and the 1/4 tsp of lemon juice might seem like small additions, but they are the heavy lifters. The acid prevents the sugar molecules from re bonding, while the salt suppresses the tongue's perception of bitterness. This makes your coffee taste smoother and more "rounded" rather than just sweeter.
Controlled Evaporation for Depth
By simmering on low for 8 minutes, we evaporate just enough water to hit the "soft thread" stage of sugar cookery without actually reaching it. This keeps the syrup clear and prevents it from becoming a sticky mess that’s impossible to clean out of a glass jar.
Gathering Your Essential Kitchen Elements
You don't need a pantry full of exotic items to make a world class homemade coffee syrup. In fact, you probably have everything you need right now. The quality of your water actually matters more than you’d think filtered water prevents any "off" metallic tastes from interfering with the delicate sugar notes.
| Ingredient | Science Role | Pro Secret |
|---|---|---|
| Granulated Sugar | Primary Sweetener | Use cane sugar for a cleaner, more neutral profile. |
| Filtered Water | The Solvent | Tap water minerals can cause the syrup to go cloudy. |
| Sea Salt | Flavor Enhancer | Use fine grain so it dissolves instantly without grit. |
| Lemon Juice | The Inhibitor | Prevents crystallization by "inverting" the sugar. |
If you find yourself running low on white sugar, you can lean into a coffee syrup recipe brown sugar version by swapping equal parts. It will yield a much deeper, molasses like flavor that is incredible in lattes. But for that classic, clear base that you can flavor with anything, stick to the granulated white sugar.
Essential Tools for Every Batch
Keeping things simple is the goal here. You don't need a candy thermometer or a stand mixer to master this. However, using the right small pot can be the difference between a smooth syrup and a burnt bottom. I always reach for a small, heavy bottomed stainless steel saucepan because it distributes heat evenly.
- Small Saucepan: Stainless steel is best so you can see the color of the syrup as it changes.
- Whisk or Silicone Spatula: Perfect for the initial stir before the heat takes over.
- Glass Storage Jar: A clean Mason jar or a recycled glass bottle with a tight lid.
- Fine Mesh Strainer: Only needed if you decide to infuse with whole spices later.
Once you have your tools ready, the process is incredibly fast. If you're also a fan of textured drinks, you might want to learn How to Make recipe for whipped coffee to layer on top of this syrup sweetened base. It’s a fantastic way to use your tools for multiple coffee components.
Detailed Steps for Smooth Results
- Combine the 1 cup (200g) granulated sugar and 1/2 cup (120ml) filtered water in your saucepan while the heat is still off. Note: Mixing while cold prevents sugar from sticking to the dry hot metal.
- Add the pinch of sea salt and 1/4 tsp lemon juice to the mixture.
- Whisk gently until the sugar looks like wet sand and is mostly submerged.
- Turn the heat to medium low and wait for the first bubbles to appear around the edges.
- Simmer for 8 minutes without stirring once it reaches a boil. until the liquid is crystal clear and slightly thickened.
- Observe the bubbles; they should be small and consistent, not a wild, foaming surge.
- Remove the pan from the heat immediately after the timer hits 8 minutes.
- Cool the syrup in the pan for at least 15 minutes until the steam stops rising and the pan is safe to touch.
- Pour into your clean glass jar and let it reach room temperature before sealing.
- Store in the refrigerator and use as needed for your favorite brew.
Chef's Tip: If you want to make an easy homemade coffee syrups variety pack, split the finished base into three small jars while warm and add different extracts (vanilla, almond, or peppermint) to each.
How to Avoid Common Mistakes
The biggest mistake I see people make with any syrup recipe is the "agitated stir." Once the sugar has dissolved and the water is boiling, put the spoon down. Stirring a boiling sugar solution can knock sugar crystals from the side of the pot back into the liquid, which triggers a chain reaction that turns your smooth syrup into a gritty, "sandy" mess.
Why Your Syrup Is Cloudy
If your syrup looks murky instead of like clear glass, it's usually due to impurities in the sugar or the water. It can also happen if you boil the mixture too aggressively. A gentle simmer is all you need to achieve that professional look.
Rescuing Over Reduced Sticky Messes
If you forgot the timer and your syrup has turned into a thick, tacky sludge that won't pour, don't toss it. You can usually save it by adding 2 tablespoons of boiling water and whisking it back together over very low heat.
| Problem | Root Cause | Solution |
|---|---|---|
| Gritty Texture | Crystallization from stirring | Add 1 tsp water and a drop of lemon juice, then re melt. |
| Too Thick | Over boiled/Too much evaporation | Whisk in a splash of hot filtered water to thin it out. |
| Weird Aftertaste | Burnt sugar or tap water | Use filtered water and keep heat at medium low. |
Common Mistakes Checklist:
- ✓ Always use a clean pot; even a tiny leftover crumb can cause crystallization.
- ✓ Resist the urge to stir once the boil starts.
- ✓ Don't skip the lemon juice; it's the insurance policy for a smooth texture.
- ✓ Let the syrup cool naturally; don't rush it in the freezer or it may cloud up.
- ✓ Wipe the rim of your storage jar after every use to prevent the lid from sticking.
Best Ways to Adapt Diets
We all have different needs, and a coffee syrup recipe vanilla version is easy to adapt if you're watching your sugar or looking for a different flavor profile. While the chemical structure changes slightly when we swap ingredients, you can still get a very dependable result with a few smart substitutions.
| Original Ingredient | Substitute | Why It Works |
|---|---|---|
| White Sugar | Allulose | Dissolves like sugar without the cooling aftertaste of erythritol. |
| White Sugar | Honey (1/2 cup) | Adds a floral note but burns faster watch the heat. |
| Lemon Juice | Cream of Tartar | Provides the same acidic "inversion" effect to prevent crystals. |
keto Friendly sugar-free Coffee Syrup
If you're making a coffee syrup recipe sugar-free, I highly recommend using Allulose. Unlike Stevia, which can be bitter, or Erythritol, which can feel "crunchy" when cold, Allulose behaves almost exactly like real sugar. It thickens beautifully and won't crystallize in the fridge.
Just keep the simmer time to about 5 minutes instead of 8, as sugar alternatives can darken quickly.
Smart Storage and Waste Tips
Storing your syrup correctly is the difference between a 4 week supply and a moldy surprise. Always use a glass container. Plastic can harbor old smells and can even leach flavors into your delicate syrup over time.
A glass bottle with a pour spout is the most dependable way to keep things clean and easy to measure on a normal Tuesday morning.
- Fridge
- Keep for up to 4 weeks in an airtight glass container.
- Freezer
- Not recommended, as the high sugar content won't freeze solid and the texture may become grainy.
- Zero Waste Tip
- If you have a tiny bit of syrup left in the jar that you can't quite pour out, don't wash it away. Pour a hot double shot of espresso directly into the jar, swirl it around to melt the remaining syrup, and pour that "fortified" shot into your cup. You can also use the leftover lemon rinds from your juice to clean the saucepan if any sugar got stuck to the sides.
Perfect Ways to Serve This
The beauty of this base is its versatility. While it’s the ultimate coffee syrup recipe for your morning latte, it doesn't have to stop there. I love using it to sweeten cold brew because it integrates instantly without that "crunch" you get from regular sugar. If you're feeling adventurous, you can use this base to create a Blueberry Coffee Syrup recipe by simmering a handful of berries with the water before straining.
- The Ultimate Iced Coffee: Fill a glass with ice, add 2 tablespoons of syrup, 1 cup of cold brew, and a splash of cream.
- Boozy Coffee Cocktails: Use this as the sweetener for an Espresso Martini. It provides a much better "head" on the drink than standard bar syrups.
- Pancakes and Waffles: If you run out of maple syrup, this rich simple syrup is a dependable backup, especially if you whisk in a little butter while it's warm.
Scaling for the Whole Week
If you're making this for a big family brunch or meal prepping for the month, you can easily double or triple the recipe. When scaling up, keep the sugar and water at a 2:1 ratio, but only increase the salt and lemon juice by 1.5x.
For example, a double batch would use 1/2 tsp of lemon juice, not a full teaspoon, to keep the flavor balanced.
| Servings | Sugar Amount | Water Amount | Cook Time |
|---|---|---|---|
| 24 (Standard) | 1 cup | 1/2 cup | 8 mins |
| 48 (Double) | 2 cups | 1 cup | 12 mins |
| 12 (Half) | 1/2 cup | 1/4 cup | 5 mins |
Scaling is a great way to save time, but remember that the larger the volume, the longer it takes to reach a boil. Always watch for those sensory cues the clarity of the liquid and the size of the bubbles rather than just relying on the clock.
Trust your eyes and your nose, and you'll have a perfect batch every single time. Happy brewing!

Recipe FAQs
How to make coffee syrup at home?
Combine equal parts sugar and half parts water, then simmer for 8 minutes. Dissolve the sugar completely in the water over low heat before bringing it to a gentle boil. Add a tiny pinch of salt and a few drops of lemon juice to prevent crystallization. If you mastered controlling the texture in this recipe, you’ll see the same principles of saturation used when making a sturdy crust like our Empanada Dough Recipe.
How to flavor coffee for diabetics?
Yes, you can use sugar substitutes like Allulose or monk fruit blends. Replace the granulated sugar 1:1 with a keto friendly sweetener that mimics sugar's behavior. Ensure you reduce the simmering time slightly, as these substitutes can darken much faster than sucrose.
Which is the best syrup for coffee?
The best syrup is the one you make with a 2:1 sugar-to-water ratio. This rich ratio creates a velvety viscosity that incorporates beautifully into both hot and cold beverages without sinking to the bottom.
How many pumps of syrup are in a 12 oz coffee?
Typically, a 12 oz coffee receives 3 to 4 standard pumps of syrup. A standard cafe pump dispenses about 1/4 ounce of liquid, so this gives you roughly 3/4 to 1 ounce of sweetener.
Is it true that I need to add acid to homemade coffee syrup?
Yes, adding a small amount of acid like lemon juice is crucial for stability. The acid works to "invert" the sugar molecules, which physically prevents them from re-bonding into hard crystals upon cooling or storage.
Can I make this syrup ahead of time?
Yes, this syrup stores perfectly in the refrigerator for up to four weeks. Always use an airtight glass jar to maintain freshness and prevent any ambient fridge smells from affecting the flavor.
Can I use brown sugar instead of white sugar?
Yes, you can substitute brown sugar, but expect a significantly different flavor profile. Brown sugar will yield a deeper, almost caramel like syrup that is less neutral than one made with white sugar; this richer base works wonderfully if you are preparing a dessert topping, similar to how we balance rich flavors in our Cheese Flan Baked recipe.
Homemade Coffee Syrup Recipe

Ingredients:
Instructions:
Nutrition Facts:
| Calories | 32 kcal |
|---|---|
| Protein | 0 g |
| Fat | 0 g |
| Carbs | 8.3 g |
| Fiber | 0 g |
| Sugar | 8.3 g |
| Sodium | 8 mg |
