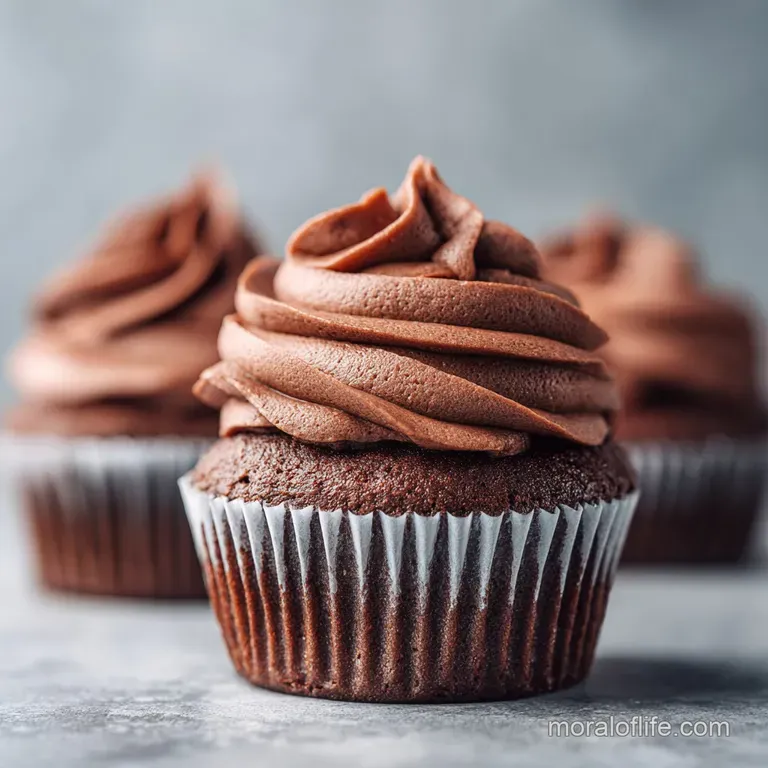
Moist Homemade Chocolate Cupcakes
- Time: Active 15 minutes, Passive 18 minutes, Total 33 minutes
- Flavor/Texture Hook: Deeply chocolatey with a velvety, tight crumb texture
- Perfect for: Stress free birthday parties or an easy weeknight baking project
- Crafting the Ultimate Moist Homemade Chocolate Cupcakes
- The Secret to Long Lasting Moisture
- Component Analysis for Better Baking
- What You Need for the Batter
- Essential Tools for Chocolate Baking
- Mixing and Baking Your Cupcakes
- Troubleshooting Common Baking Fails
- Adjusting the Batch Size Easily
- Myths About Chocolate Cupcake Batter
- Fresh Keeping and Scraps
- Perfect Garnish and Accents
- Recipe FAQs
- 📝 Recipe Card
Crafting the Ultimate Moist Homemade Chocolate Cupcakes
Did you know that back in the early 19th century, the term "cupcake" actually referred to the way the ingredients were measured rather than the shape of the tin? Before standardized scales became a household staple, American home cooks relied on the "1-2-3-4" method, measuring everything by the cup.
It was a revolutionary shift from the heavy, fruit laden English cakes that required a chemistry degree and a whole afternoon to weigh out. I love thinking about that history whenever I pull out my measuring cups, it makes the whole process feel so much more connected to all those bakers who came before us, just trying to get a sweet treat on the table without the fuss.
Whenever I smell that first whiff of cocoa hitting boiling water, it takes me back to my first successful bake. For a long time, I thought chocolate cake had to be difficult to be good. I assumed you needed to melt expensive bars of chocolate or spend twenty minutes creaming butter and sugar until your arm went numb.
But then I discovered this specific method, which feels almost like magic because of how thin the batter looks before it goes into the oven. It's a crowd pleasing classic that has saved me more times than I can count when I needed a last minute dessert that actually tastes like it came from a high end bakery.
If you are looking for a reliable, simple mixing experience that results in a velvety crumb every single time, you have found it. These moist homemade chocolate cupcakes are the kind of treats that don't require any fancy equipment, just a couple of bowls and a whisk.
We're going to focus on first try success here, because there is nothing worse than a dry, crumbly cupcake that needs a gallon of milk just to swallow. We want these to be light, springy, and intensely chocolatey without the "perfection pressure" of more complicated recipes.
The Secret to Long Lasting Moisture
Most people think that more butter equals a more moist cupcake, but that is a common trap. Butter is roughly 15% to 20% water, which evaporates in the heat of the oven and can actually leave the cake feeling a bit dry or tough once it cools down.
By using neutral vegetable oil instead, we ensure that the fats remain liquid even at room temperature. This is the primary reason why these moist homemade chocolate cupcakes stay soft for days, whereas butter based cakes tend to firm up and get "bready" after 24 hours.
The Blooming Effect: Adding boiling water or hot coffee to the cocoa powder dissolves the lumps and releases trapped flavor compounds for a more intense chocolate hit.
Chemical Levelling: Distilled white vinegar reacts instantly with the baking soda to create a rapid burst of carbon dioxide, giving the heavy chocolate batter the lift it needs.
Sugar as a Liquefier: Beyond sweetness, the granulated sugar interferes with gluten development, ensuring the texture remains "velvety" rather than "chewy" like bread.
Fat Suspension: Using a room temperature egg allows the fats and liquids to emulsify properly, preventing the batter from breaking and resulting in a smoother crumb.
| Method | Texture | Time | Best For |
|---|---|---|---|
| Fresh (Scratch) | Light, springy, deep cocoa flavor | 33 minutes | Birthdays, special events, gifting |
| Box Mix Shortcut | Dense, very sweet, artificial vanilla notes | 25 minutes | Ultra quick snacks, large school batches |
| Bakery Style (Butter) | Rich, heavy, firm when cold | 50 minutes | Intricate carved cakes, sturdy tiers |
When you are deciding between making these from scratch or grabbing a box, remember that the flavor depth in a homemade chocolate cupcakes recipe is miles ahead of anything in a cardboard container.
You get to control the quality of the cocoa and the intensity of the vanilla, which makes a massive difference in the final result. Plus, the oil based method we are using here is actually just as fast as a mix once you get the hang of it.
Component Analysis for Better Baking
Understanding why we use specific ingredients helps you become a more intuitive cook. It's not just about following a list; it's about knowing how the pieces fit together to create that "shatter on-the tongue" tenderness.
| Ingredient | Science Role | Pro Secret |
|---|---|---|
| Natural Cocoa | Provides acidity and flavor | Sift this first! Cocoa is notorious for having tiny, stubborn lumps that won't whisk out later. |
| Distilled Vinegar | Activates the baking soda | You won't taste it at all, but it’s the "secret sauce" for a high rise without a metallic aftertaste. |
| Boiling Water | "Blooms" the chocolate | Use hot coffee instead of water to make the chocolate taste three times more intense without making it taste like coffee. |
The interaction between the vinegar and the baking soda is especially cool. If you've ever made a school volcano, you know the drill. In this recipe, that reaction happens inside the batter, creating millions of tiny air bubbles.
This is why it is so important to get the pans in the oven quickly once the wet and dry ingredients meet you don't want all those bubbles to pop before the heat sets the structure of the cake.
What You Need for the Batter
Before we start, make sure you have everything ready. This is a "one bowl" style of recipe, but it moves fast once you add the hot liquid.
- 1.5 cups (190g) All purpose flour: Provides the essential structure. Why this? AP flour has the right protein balance for a soft yet sturdy cupcake.
- 1 cup (200g) Granulated sugar: Adds sweetness and keeps the crumb moist. Why this? It dissolves easily into the thin batter for a smooth texture.
- 0.5 cup (45g) Unsweetened natural cocoa powder: The source of that deep chocolate flavor. Why this? Natural cocoa is acidic, which is needed to react with the baking soda.
- 1 tsp Baking soda: Our primary leavening agent. Why this? It works with the vinegar and cocoa to make the cupcakes rise.
- 0.5 tsp Salt: Enhances the chocolate notes. Why this? Without salt, chocolate tastes flat and one dimensional.
- 0.5 cup (120ml) Neutral vegetable oil: Ensures a moist, long lasting crumb. Why this? Oil stays liquid at room temperature unlike butter.
- 1 cup (240ml) Whole milk: Adds richness and liquid. Why this? The fat in whole milk creates a more tender "velvety" mouthfeel.
- 1 tsp Distilled white vinegar: The catalyst for the rise. Why this? It provides the acid punch needed for the baking soda to foam up.
- 1 Large egg, room temperature: Binds everything together. Why this? Room temp eggs incorporate much better than cold ones.
- 1 tsp Pure vanilla extract: Rounds out the flavors. Why this? Vanilla is to chocolate what salt is to savory food it’s a booster.
- 0.5 cup (120ml) Boiling water or hot brewed coffee: The "blooming" agent. Why this? The heat "cooks" the cocoa slightly to release maximum flavor.
| Original Ingredient | Substitute | Why It Works |
|---|---|---|
| Whole Milk | Buttermilk (1 cup) | Adds even more tang and tenderness. Note: Omit the vinegar if you use this. |
| Vegetable Oil | Melted Coconut Oil | Similar fat profile but adds a very subtle tropical scent. |
| All purpose Flour | gluten-free 1:1 Blend | Works well because the batter is very liquid. Note: May be slightly grittier. |
If you are looking for a bright, citrusy alternative for another time, you should definitely check out my Moist Lemon Cupcakes Recipe. It uses a similar logic for moisture but focuses on that sharp lemon curd center. It is a great contrast to the deep, dark notes we are building here with the chocolate.
Essential Tools for Chocolate Baking
You don't need a stand mixer for this recipe. In fact, using a stand mixer can often lead to over mixing, which makes the cupcakes tough and "holey." A simple hand whisk is actually your best friend here.
- 12 cup muffin tin: Standard size works perfectly.
- Paper liners: Makes cleanup a breeze and prevents sticking.
- Fine mesh sieve: Absolutely essential for the cocoa powder.
- Two large mixing bowls: One for dry, one for wet (or just one big one if you're careful).
- A cooling rack: To prevent the bottoms from getting soggy after baking.
Chef's Tip: If you want to be extra precise, use an ice cream scoop to fill your liners. It ensures every cupcake is the exact same size, which means they will all finish cooking at the same time.
Mixing and Baking Your Cupcakes

This is where the magic happens. Remember, the batter for this chocolate cupcakes recipe is going to look much thinner than a traditional vanilla cake batter. Don't panic! That high liquid content is exactly what makes them so moist.
- Preheat and Prep: Set your oven to 350°F (175°C) and line your tin with paper liners.
- Sift and Whisk Dry: Combine the flour, sugar, cocoa powder, baking soda, and salt in a large bowl. Note: Sifting is non negotiable here because cocoa lumps are like tiny flavor less rocks if they stay dry.
- Create a Center Well: Make a hole in the middle of your dry ingredients to pour in the wet stuff.
- Add the Liquids: Pour in the milk, oil, egg, vanilla, and vinegar.
- Whisk Gently: Start from the middle and slowly pull in the flour. Whisk until the batter is smooth and no flour streaks remain.
- The Blooming Step: Carefully pour in the boiling water or hot coffee.
- Final Whisk: Stir gently until the batter is thin, dark, and glossy. It will look like chocolate soup.
- Fill the Liners: Divide the batter into the 12 cups, filling each about 2/3 full.
- Bake: Slide them into the oven for 18 minutes.
- Test for Doneness: They are ready when a toothpick comes out clean or with just a few moist crumbs.
For a fun seasonal twist, if you're baking these for a holiday, you might like my Valentine's Sweets Red Velvet recipe. It uses the same vinegar activation trick to get that classic red hue and tender bite.
Troubleshooting Common Baking Fails
Even with a simple recipe, things can go sideways. The most common issue I see with homemade chocolate cupcakes is the "sinking middle." This usually happens because the oven was opened too early, or the baking soda was expired.
Why Your Cupcakes Sunk
If your cupcakes look great in the oven but collapse the moment you take them out, it's usually a structure issue. This can happen if you over mix the batter, which develops too much gluten that then "snaps" and falls.
It can also happen if your oven temperature is too low, preventing the cake from setting before the air bubbles escape.
Why the Tops are Sticky
Sticky tops usually mean two things: either they were underbaked by a minute or two, or they were covered while they were still slightly warm. The steam gets trapped and turns the surface into a tacky mess. Let them cool completely on a wire rack before you even think about putting them in a container.
| Problem | Root Cause | Solution |
|---|---|---|
| Dry or Crumbly | Over baked or too much flour | Use a kitchen scale for flour; check doneness 2 mins early next time. |
| Overflowing Liners | Cups filled more than 2/3 | Only fill to the "2/3 line" to allow for the rapid rise. |
| Flat Tops | Expired baking soda | Test your soda in vinegar if it doesn't fizz instantly, toss it. |
Common Mistakes Checklist:
- ✓ Always sift the cocoa powder to avoid bitter dry pockets in the cake.
- ✓ Ensure the egg is at room temperature so it doesn't seize the oil.
- ✓ Use actual boiling liquid, not just "warm" tap water, to bloom the cocoa.
- ✓ Don't open the oven door until at least 15 minutes have passed.
- ✓ Fill the liners evenly to ensure they all bake at the same rate.
Adjusting the Batch Size Easily
Sometimes you only need a few treats for a quiet night in, or you need to feed an entire classroom. Here is how to handle the math without a headache.
- To Half the Batch: Use 3/4 cup flour, 1/2 cup sugar, 1/4 cup cocoa, 1/2 tsp soda, and 1/4 tsp salt. For the egg, whisk one whole egg in a small bowl and use exactly 2 tablespoons. Reduce the bake time by about 3 minutes and check early.
- To Double the Batch: You can double everything exactly, but be careful with the salt and spices. I usually recommend only 1.5x the salt (so 3/4 tsp instead of 1 tsp) to keep the flavor balanced. You will likely need to bake in two separate tins; don't try to crowd them both on one rack if it blocks airflow.
Scaling up is easy for this recipe because it is so liquid. Just make sure you have a large enough bowl to whisk it all together without splashing. If you're doubling, your "boiling water" step will involve a full cup of liquid, so pour slowly to avoid splashes!
Myths About Chocolate Cupcake Batter
One big myth is that you need "special" cake flour for a tender cupcake. Honestly, for chocolate cakes, all purpose flour is actually better. The cocoa powder already acts like a starch, so using cake flour can sometimes make the structure too weak, causing the cupcakes to crumble when you try to peel off the paper liner.
Another thing people say is that you must cream the butter and sugar for a "light" cake. While that's true for some styles, this oil based method relies on chemical reactions (soda + vinegar) for lift, not mechanical aeration. You can skip the heavy lifting and still get a result that's lighter than air.
Trust me, the whisk is all you need.
Fresh Keeping and Scraps
Once these are baked, you want to keep them that way. If you aren't frosting them immediately, store them in an airtight container at room temperature. They will stay perfectly moist for up to 3 days.
If you need to keep them longer, the fridge is okay, but it can dry out the crumb slightly, so let them come back to room temperature before eating.
Freezing: These cupcakes freeze beautifully. Wrap the unfrosted bases individually in plastic wrap and then put them in a freezer bag. They stay fresh for up to 3 months. To thaw, just leave them on the counter for about an hour.
Zero Waste Tip: If you have a cupcake that broke or you have leftover "domes" from leveling them, don't throw them away! Crumble them up and mix them into some vanilla ice cream, or save the crumbs in a bag in the freezer to use as a base for a chocolate cheesecake crust later.
Even the tiny "skin" that sticks to the liners is full of flavor.
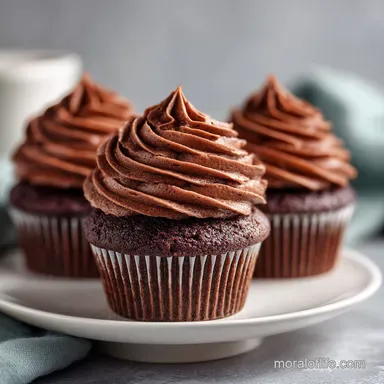
Perfect Garnish and Accents
To really make these cupcakes stand out, you need a solid garnish strategy. For a "color balance" approach, I recommend three specific accents that make the dark chocolate pop:
- The Bright Base (White): A swirling peak of vanilla bean buttercream provides the perfect high contrast backdrop for the dark cake. Add this only once the cupcakes are stone cold.
- The Natural Pop (Red): A single fresh raspberry perched on top of the frosting. The tartness cuts through the sugar and adds a "grown up" elegance. Add these right before serving so the juice doesn't bleed.
- The Sparkle (Gold): A tiny pinch of gold metallic sprinkles or a dusting of gold luster powder. It catches the light and makes the whole tray look like it came from a professional patisserie.
These three accents white, red, and gold create a visual balance that feels intentional and expensive without requiring any actual "fancy" decorating skills. It's all about that first try success! Now, go get that water boiling and let's get baking.
These are going to be the most crowd pleasing treats you've made in a long time.

Recipe FAQs
What is the secret to moist cupcakes?
The secret is adding boiling water or hot coffee at the end of the mixing process. This high heat blooms the cocoa powder, which releases more flavor and creates a thin, glossy batter that stays tender after baking.
How to make chocolate cupcakes moist?
Measure your flour by spooning it into the measuring cup rather than scooping directly from the bag. Scooping packs the flour down, often leading to dry, dense cupcakes; this precise measurement technique ensures the perfect crumb, similar to how we manage density in our brownie recipe.
What is the secret to a good chocolate cupcake?
Sift your cocoa powder before mixing it with other dry ingredients. Cocoa powder is notorious for forming stubborn clumps, and sifting ensures a perfectly smooth batter that bakes evenly.
Is it true I should open the oven door to check for doneness early?
No, this is a common misconception. Opening the oven door before the 18-minute mark causes a sudden drop in temperature, which is the leading cause of cupcakes sinking in the middle.
How to ensure the cupcakes don't stick to the liners?
Let the cupcakes cool completely in the muffin tin for at least 10 minutes before removing them. Removing them while hot can cause the delicate sides to tear and cling to the paper liners.
What is the best way to mix the batter?
Whisk starting from the center of the bowl, gradually pulling in the dry ingredients. This gentle agitation prevents overworking the flour, which keeps the cupcake crumb light rather than tough.
Can I use hot coffee instead of boiling water?
Yes, using hot brewed coffee enhances the chocolate flavor significantly. The coffee doesn't make the cupcakes taste like mocha; it simply intensifies the richness of the cocoa.
Moist Homemade Chocolate Cupcakes
Ingredients:
Instructions:
Nutrition Facts:
| Calories | 229 calories |
|---|---|
| Protein | 3.6g |
| Fat | 10.6g |
| Carbs | 31.8g |
| Fiber | 1.3g |
| Sugar | 17.7g |
| Sodium | 202mg |
