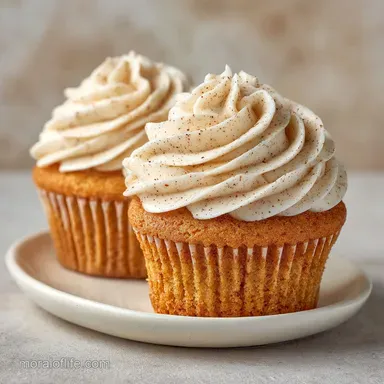
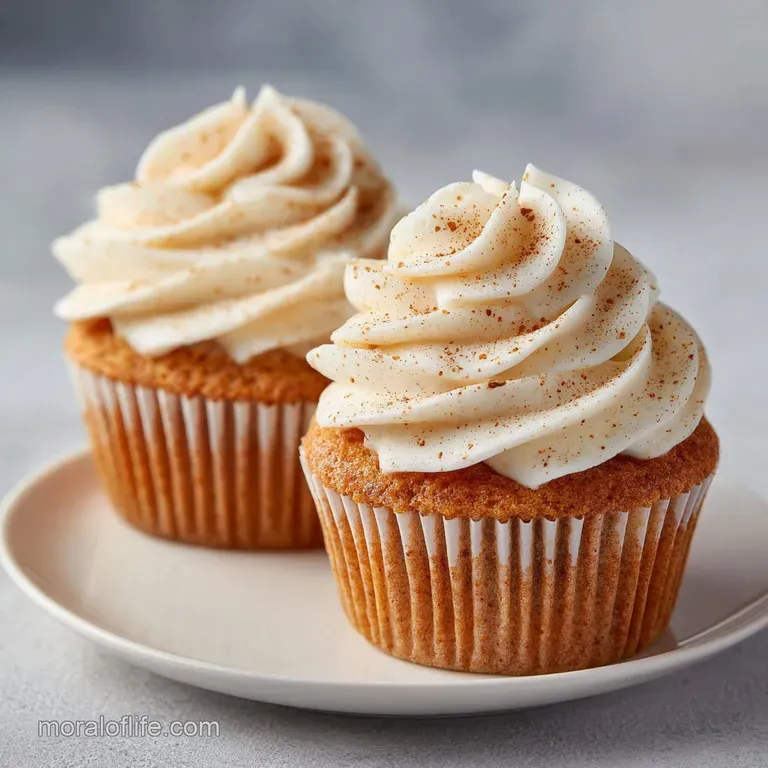
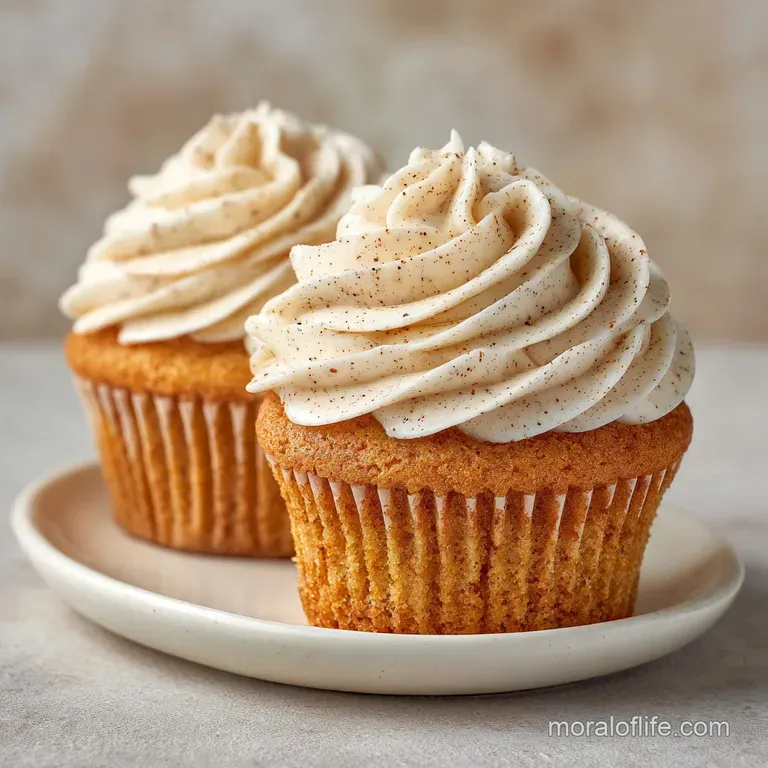
Frost Me Not Cup Cakes: Vanilla Bean
- Time:15 minutes active + 20 minutes baking = Total 35 minutes
- Flavor/Texture Hook: Velvety, tight crumb with a crystalline sugar finish
- Perfect for: Winter parties, school treats, or a low mess dessert
The scent of vanilla bean paste hitting warm butter is probably my favorite smell in the world. It's that specific, cozy aroma that tells you the kitchen is about to become a sanctuary.
I remember the first time I tried to make treats for a winter solstice gathering, and I spent hours piping intricate swirls of buttercream. By the time the guests arrived, the frosting had melted slightly in the heat of the room, and everyone was complaining about the sugar overload.
That's when I realized that not every cake needs a mountain of frosting to feel special. I wanted something that looked like a frozen lake or a crisp winter morning, but tasted light and clean.
I started experimenting with glazes and high moisture batters, and that's how these frost me not cup cakes became a staple in my house. They give you that visual "wow" factor of a decorated dessert without the cloying sweetness of traditional icing.
If you've ever felt the pressure to make bakery style frosting but hated the cleanup, you'll love this approach. We're going for a "Winter Wonderland" vibe here, using a thin, vibrant blue glaze that sets into a smooth skin.
It's a relief to have a treat that is crowd pleasing but doesn't leave you scrubbing piping bags for an hour.
Frost me not cup cakes
The beauty of this recipe is in the balance. We aren't relying on a thick layer of sugar to hide a dry cake. Instead, the cake itself is the star, designed to be moist enough to eat plain, while the glaze adds just a hint of sweetness and a pop of color.
It's a very European way of thinking about sweets, where the texture of the sponge is prioritized over the toppings.
When you first see these, they look like professional snowflake cupcakes. But the secret is that they are incredibly simple to assemble. Because we aren't frosting them, you don't have to wait hours for the cakes to be completely cold to the touch before decorating, though you still want them cool enough that the glaze doesn't just vanish into the sponge.
I've found that the blue and white winter dessert theme works best when the blue is a deep, icy shade. This creates a contrast with the white sanding sugar that looks like fallen snow.
Whether you're making these for a themed party or just a cozy Sunday, they bring a bit of winter magic to the table without the stress of complicated decorating.
Why this batter works
Yogurt Acidity: The lactic acid in Greek yogurt breaks down gluten strands, which prevents the cake from becoming tough. It also reacts with the baking powder to create a more consistent rise.
Fat Emulsion: Creaming butter and sugar traps tiny air bubbles that expand in the oven. This is what gives the cupcakes their light, velvety structure instead of being dense like a muffin.
Moisture Balance: Using both milk and yogurt ensures the crumb stays hydrated. This means the cake doesn't dry out even if you leave it in the oven for an extra minute.
Glaze Stability: Powdered sugar mixed with a tiny bit of liquid creates a saturated solution. Once it hits the cool cake, the water evaporates, leaving behind a thin, crisp shell.
Since this recipe is all about the texture, it's helpful to see how it compares to other methods of getting a moist crumb.
| Method | Texture | Bake Time | Best For |
|---|---|---|---|
| Greek Yogurt (this recipe) | Velvety & Tight | 20 minutes | Clean slicing & glazes |
| Oil Based Batter | Open & Spongy | 18-22 minutes | Heavy frosting |
| Butter Based Only | Rich & Dense | 22-25 minutes | Classic pound cake feel |
Choosing the right fat source changes how the cake feels in your mouth. While oil is often used for "moist" cakes, butter provides the structural integrity needed for these to hold their shape under the glaze.
Component Analysis
| Ingredient | Science Role | Pro Secret |
|---|---|---|
| All Purpose Flour | Provides structure via gluten | Sift it to avoid clumps in the glaze |
| Greek Yogurt | Tenderizes the crumb | Use full fat for a richer mouthfeel |
| Vanilla Bean Paste | Concentrated flavor | Paste adds tiny black seeds for a premium look |
| Baking Powder | Leavening agent | Check the date; old powder = flat cakes |
Shopping and swap list
Here is everything you'll need. I've listed a few alternatives if you're missing something in the pantry, but keep in mind that some changes will alter the final texture.
- 1 1/2 cups (190g) all purpose flour Why this? Standard protein level for a balanced lift (Substitute: Cake flour for a softer, more fragile crumb)
- 3/4 cup (150g) granulated cane sugar Why this? Dissolves well during creaming (Substitute: Caster sugar for an even finer texture)
- 1 1/2 tsp (7g) baking powder Why this? Essential for the "snowy" lift (Substitute: 1 tsp baking powder + 1/4 tsp baking soda)
- 1/4 tsp (1.5g) salt Why this? Balances the sweetness of the glaze (Substitute: Fine sea salt)
- 1/2 cup (113g) unsalted butter, softened Why this? Essential for aeration (Substitute: Margarine, though the flavor is less rich)
- 2 large eggs, room temperature Why this? Binds the batter and adds lift (Substitute: 2 flax eggs, but the cake will be denser)
- 1/4 cup (60g) plain Greek yogurt Why this? Adds moisture and tang (Substitute: Sour cream, which is thicker and richer)
- 1 tbsp (15ml) vanilla bean paste Why this? Deeper flavor than extract (Substitute: 2 tsp vanilla extract)
- 1/2 cup (120ml) whole milk, room temperature Why this? Thins the batter for a smooth pour (Substitute: Almond milk, though it's less creamy)
- 1/2 cup (60g) powdered sugar Why this? Creates the smooth glaze (Substitute: Cornstarch based icing sugar)
- 2 tbsp (30ml) whole milk or heavy cream Why this? Controls glaze thickness (Substitute: Lemon juice for a tart twist)
- 1 drop blue food coloring gel Why this? Gel is more concentrated than liquid (Substitute: Butterfly pea powder for natural blue)
- White sanding sugar or edible snowflakes for garnish Why this? Adds the "frozen" sparkle (Substitute: Desiccated coconut)
Essential baking tools
You don't need a professional kitchen for this, but a few things make it way easier. I use a standard stand mixer such as KitchenAid, but a hand mixer works just as well.
- 12 slot cupcake pan
- Paper liners (standard size)
- Two mixing bowls (one medium, one large)
- Whisk and rubber spatula
- Electric mixer (hand or stand)
- Small bowl for whisking the glaze
- Wire cooling rack
Step by step process
Right then, let's get into the actual baking. Pay close attention to the cues the "look" of the batter is more important than the timer in some cases.
- Preheat your oven to 350°F (175°C). In a medium bowl, whisk together the flour, baking powder, and salt. Note: Whisking the dry ingredients ensures the leavening agent is evenly distributed.
- In a separate larger bowl, cream the softened butter and sugar together on medium high for about 3 minutes until the mixture looks pale and fluffy.
- Add the eggs one at a time, beating well after each addition. Stir in the vanilla bean paste and Greek yogurt until smooth. Note: Room temperature eggs emulsify better, preventing the batter from curdling.
- Gradually add the dry ingredients, alternating with the milk (Dry → Wet → Dry). Mix on low speed just until combined; stop the moment you see no more flour streaks.
- Distribute the batter into lined cupcake pans, filling each about 2/3 full.
- Bake for 20 minutes until the tops spring back when lightly touched and a toothpick comes out clean.
- Let the cupcakes cool in the pan for 5 minutes, then move them to a wire rack to cool completely.
- Whisk together powdered sugar, milk or heavy cream, and blue food coloring in a small bowl until the glaze is glossy and smooth.
- Drizzle the blue glaze over the cooled cupcakes, letting it run slightly down the sides.
- Immediately sprinkle with white sanding sugar or edible snowflakes before the glaze sets to create that frosty finish.
Fixing common mistakes
Baking is a bit of a science project, and sometimes things go sideways. Most of the time, it's just a matter of temperature or mixing.
Troubleshooting Common Issues
| Issue | Solution |
|---|---|
| Why Your Cakes Sank | If the middle of your cupcakes dipped, it's usually because the oven door was opened too early or the baking powder was expired. This causes the air bubbles to collapse before the flour structure has |
| Why is the Texture Too Dense | Over mixing is the biggest culprit here. When you mix flour with liquid, gluten forms. If you keep mixing after the flour streaks are gone, you develop too much gluten, turning your velvety cake into |
| Why the Glaze is Too Runny | If your glaze disappears into the cake or runs off completely, you likely added too much milk. The consistency should be like thick honey. |
Common Mistakes Checklist
- ✓ Did you cream the butter for the full 3 minutes?
- ✓ Are your eggs and milk actually at room temperature?
- ✓ Did you stop mixing the moment the flour disappeared?
- ✓ Did you let the cupcakes cool before glazing?
- ✓ Is your oven preheated to exactly 350°F?
Easy dietary swaps
You can definitely tweak this recipe to fit your needs. If you're looking for other winter treats, my Cinnamon Sugar Swirl Cupcakes recipe is another great option for the season.
For a Vegan Winter Treat
You can swap the butter for a high-quality vegan butter stick and use a flax egg (1 tbsp ground flax + 3 tbsp water per egg). For the yogurt, use an unsweetened soy or almond yogurt. Note that the rise might be slightly less dramatic.
For a gluten-free Version
Use a 1:1 gluten-free flour blend that includes xanthan gum. According to King Arthur Baking, measuring GF flour by weight is crucial because it doesn't compress the same way as wheat flour. You might find the cupcakes need 2-3 extra minutes in the oven.
Low Sugar Modification
You can reduce the granulated sugar by 2 tablespoons without affecting the structure. However, don't go much lower, as sugar helps keep the crumb moist. For the glaze, try a drizzle of maple syrup mixed with a tiny bit of blue coloring.
Depending on how you want to serve these, you can adjust the batch size. If you're making a massive amount for a party, keep these rules in mind.
| Scale | Flour/Sugar | Eggs | Bake Time |
|---|---|---|---|
| Half (6 cakes) | Use 1/2 amount | Beat 1 egg, use half | Reduce by 20% |
| Double (24 cakes) | Use 2x amount | Use 4 eggs | Lower temp 25°F, add 5 mins |
| Triple (36 cakes) | Use 3x amount | Use 6 eggs | Bake in batches |
Keeping treats fresh
These frost me not cup cakes stay moist longer than traditional cupcakes because they don't have a high fat frosting that can oxidize or crust over.
Storage Guidelines Keep them in an airtight container at room temperature for up to 3 days. If your kitchen is very warm, pop them in the fridge for up to 5 days. Just be sure to let them come back to room temperature before eating, or the butter in the cake will feel a bit hard.
Freezing Tips You can freeze these! I recommend freezing them before you glaze them. Wrap the baked cupcakes tightly in plastic wrap and place them in a freezer bag for up to 2 months. Thaw at room temperature and then apply the blue glaze and sanding sugar for a fresh finish.
Zero Waste Ideas If you have a bit of blue glaze left over, don't toss it. It's actually great as a dip for fresh strawberries or apple slices. If you have leftover Greek yogurt from the batter, stir in some honey and cinnamon for a quick breakfast.
Serving and plating styles
Since we're going for a "Frozen" themed cupcake vibe, how you present them makes a huge difference. I like to offer three levels of presentation depending on who is coming over.
The Simple Approach Just place the glazed cupcakes on a plain white ceramic plate. The blue glaze pops against the white, and the sanding sugar provides all the detail you need. This is perfect for a casual coffee date.
The Polished Look Arrange the cakes on a silver platter or a mirrored tray. Surround the cupcakes with a few sprigs of fresh mint or rosemary to look like pine needles, and scatter some extra edible snowflakes around the base of the cakes.
The Restaurant Style Place a single cupcake in the center of a wide, dark blue or black plate. Use a squeeze bottle to create three small dots of white cream or condensed milk around the cake, and place a single, large edible silver pearl on top of the blue glaze.
| Plating Level | Base | Garnish | Vibe |
|---|---|---|---|
| Simple | White Plate | Sanding Sugar | Homey |
| Polished | Silver Tray | Rosemary/Mint | Festive |
| Restaurant | Dark Plate | Silver Pearls | High End |
Decision Shortcut
- If you want a deep blue: Use a gel color and add it slowly.
- If you want a "frosty" white look: Use less blue and more sanding sugar.
- If you want a tart flavor: Substitute the milk in the glaze with lemon juice.
Winter baking myths
There are a few things people tell you about cupcakes that just aren't true. I've spent enough time in the kitchen to know which ones to ignore.
The "Room Temp" Myth Some people say room temperature ingredients are just a suggestion. They aren't. Cold eggs can cause your creamed butter to seize and separate, which leads to a chunky batter and a dense cake. It's worth the 10 minutes of waiting.
The "Searing" Logic While not applicable to cakes, many people try to "sear" the tops of cupcakes with a torch to get color. In a recipe like these frost me not cup cakes, the goal is a pale, snowy top. Let the oven do the work; don't try to force a crust.
The "Over Whisking" Lie You'll hear that you should whisk the batter until it's perfectly smooth. For cupcakes, "perfectly smooth" usually means "over mixed." A few tiny lumps are okay; a rubbery cake is not.
Whether you're making these as blue Christmas cupcakes or just a fun weekend project, the key is the simplicity. By skipping the heavy frosting, you let the vanilla bean and tangy yogurt shine. These treats are a great way to bring some winter cheer to your friends without spending the whole day in the kitchen.
Trust me on this once you try the glaze method, you'll find yourself making more frost me not cup cakes throughout the season. Now, go grab your whisk and let's get baking!
Recipe FAQs
How to store these cupcakes to keep them moist?
Keep them in an airtight container at room temperature. They stay fresh for 2-3 days, though refrigeration is a good option if your kitchen is very warm.
How to prevent the cupcakes from becoming too dense?
Stop mixing as soon as flour streaks disappear. Over mixing develops too much gluten, which ruins the velvety texture. If you enjoyed mastering this aeration technique here, see how the same principle works in our pumpkin dream cupcakes.
Is it true that I should mix the batter until it is completely smooth and glossy?
No, this is a common misconception. Mixing until glossy often leads to over working the flour, resulting in a tough crumb instead of a tender cake.
How to thicken a glaze that is too runny?
Whisk in more powdered sugar one tablespoon at a time. Continue adding sugar until the glaze reaches a consistency that holds its shape slightly when drizzled.
Why did the center of my cupcakes sink during baking?
The oven door was likely opened too early. This causes the air bubbles to collapse before the flour structure has set enough to support the weight.
Can I use cold eggs and milk instead of room temperature?
No, stick with room temperature. Cold ingredients can cause the creamed butter to seize, which leads to an uneven batter and a poor rise.
How to tell when the butter and sugar are creamed enough?
Beat on medium high for 3 minutes until the mixture looks pale and fluffy. This ensures enough air is incorporated to create a light, airy cupcake texture.
Frost Me Not Cup Cakes