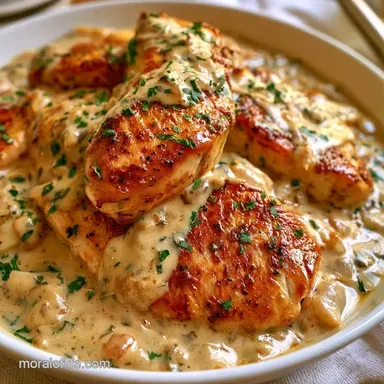
Tender Coconut Braised Chicken Breasts
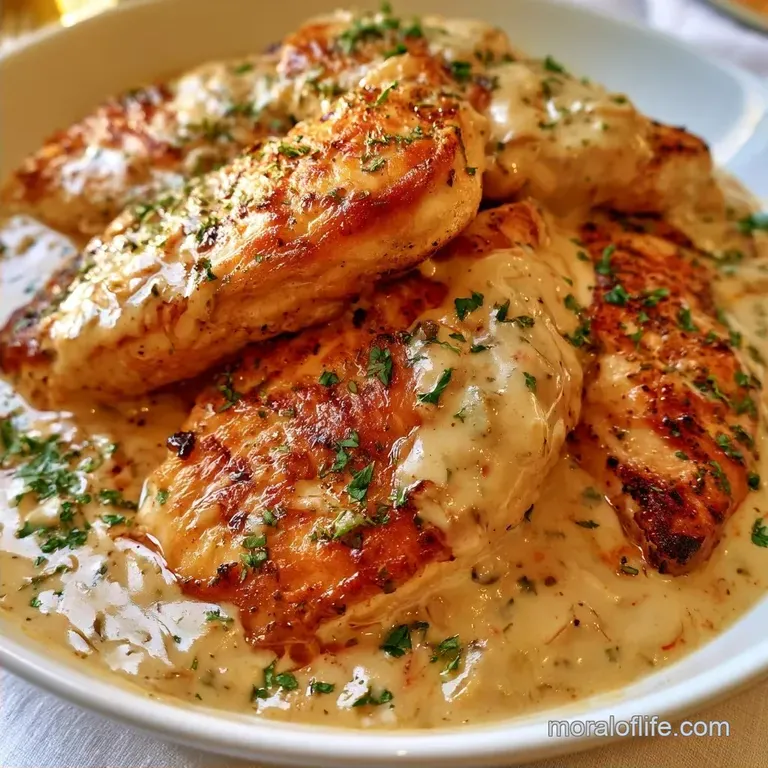
- Time: 10 minutes prep + 25 minutes simmer
- Key Profile: Lush coconut cream balanced with a sharp lime punch
- Best for: A reliable mid-week meal
Let's dive into a cornerstone of Southeast Asian home cooking. In Thailand and Vietnam, coconut milk is a savory staple, not just a sweet treat. It serves as the ideal base for braises, softening bold spices and coating the ingredients in a velvety glaze.
For me, these recipes are all about harmony matching the salty soy and acidic lime against a backdrop of rich coconut.
I've always found chicken breasts tricky. Since they're so lean, a few extra minutes on the heat can quickly turn them rubbery. Braising is the solution. Gently poaching the meat in a fat-heavy liquid ensures the texture remains succulent, even if you get distracted and leave it on the stove a bit too long.
This Coconut Braised Chicken provides that same deep, tropical essence without requiring all afternoon. It's a standard Tuesday night recipe that tastes like you spent hours in the kitchen.
Why This Recipe Works
- The Fat Shield: Coconut milk is naturally high in saturated fats. These fats wrap around the chicken breasts, preventing the muscle fibers from tightening and squeezing out all the moisture.
- Acidic Balance: Fresh lime juice is added at the end. The citric acid cuts through the richness of the coconut milk, keeping the sauce from feeling too heavy on the palate.
- Controlled Heat: By searing first and then simmering, we get two different types of flavor. The sear adds depth, while the braise ensures the inside stays juicy.
Honestly, the trick is the timing. If you boil the sauce too hard, the coconut milk can split. Keep it at a gentle bubble, and the sauce stays smooth and glossy.
Recipe Specs
Depending on how you like your meals, you might want a faster version or a more traditional one. Most people prefer this quick pan braise, but some like the slow cooker route for a more fall apart texture.
| Method | Prep & Cook Time | Texture | Best For |
|---|---|---|---|
| Quick Pan Braise | 35 minutes | Tender & Juicy | Weeknight dinner |
| Classic Slow Braise | 4 hours | Shred able | Meal prep |
Trust me on this, the pan braise is the way to go for breasts. If you use thighs, go for the slower method.
Ingredient Deep Dive
I like using full fat coconut milk because it provides the best mouthfeel. If you use the light version, the sauce stays thin and loses that signature richness.
| Ingredient | Role | If You Don't Have It |
|---|---|---|
| Full fat Coconut Milk | Base & Moisture | Heavy cream (tastes more dairy like) |
| Fresh Lime Juice | Brightness | Lemon juice (slightly less floral) |
| Fresh Ginger | Zesty Heat | 1/2 tsp ground ginger (less punchy) |
| Soy Sauce | Salt & Umami | Tamari or Coconut Aminos |
The ginger is a must. I once tried skipping it because I was lazy, and the dish felt flat. It needs that little bit of zing to wake up the coconut.
Tools You Will Need
A professional kitchen isn't necessary just a few standard staples. The most important piece of equipment is a large, deep skillet. If the pan is too shallow, the coconut milk may evaporate too quickly, leaving you with a thick paste rather than a sauce.
I typically use a 12 inch stainless steel or cast iron skillet. These materials retain heat effectively, which is essential for creating that mahogany crust on the chicken during the initial sear. Using a reliable meat thermometer is also a great way to prevent overcooking.
Step by step Process
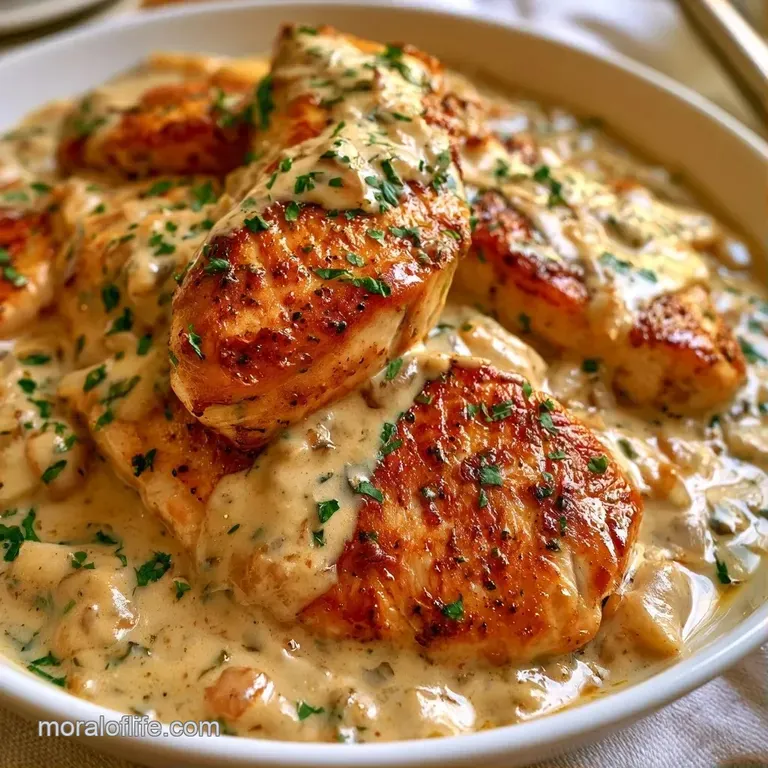
Right, let's crack on with the cooking. Keep your ingredients prepped and ready before you turn on the stove.
- Pat the chicken breasts dry with paper towels and season with salt and pepper. Note: Dry meat sears better and browns faster.
- Heat olive oil in a large deep skillet over medium high heat. Add chicken and cook for 3–5 minutes per side until a mahogany colored crust forms. Remove chicken and set aside on a plate.
- Reduce heat to medium. In the same pan, add the minced garlic and grated ginger. Sauté for about 60 seconds until the garlic is translucent.
- Stir in the coconut milk, soy sauce, and red pepper flakes.
- Once the sauce begins to bubble gently, nestle the seared chicken breasts back into the liquid.
- Lower the heat to a simmer and cook for 10–12 minutes until the internal temperature reaches 165°F. Note: USDA guidance puts the safe internal temperature at 165°F.
- Stir in the lime juice just before removing from heat.
For the best results, I recommend a brand like Thai Kitchen for the coconut milk as it's consistently creamy.
Fixing Common Issues
Unexpected results usually stem from improper heat management.
Sauce Too Thin
If your sauce is too watery to be a glaze, it just needs to be reduced. Remove the chicken and increase the heat for a few minutes to evaporate the excess liquid.
Milk Separated
This occurs when the sauce boils too vigorously, causing the oil to break away from the solids. You can generally whisk it back together over low heat, but maintaining a steady simmer prevents this.
Rubbery Meat
This is almost always the result of overcooking. While Coconut Braised Chicken is quite forgiving, breasts can still become tough if they go beyond 170°F.
| Problem | Fix |
|---|---|
| Sauce is too thin | Simmer without chicken for 3 mins |
| Sauce separated | Lower heat and whisk gently |
| Meat is rubbery | Use a thermometer; pull at 165°F |
Best Side Dish Ideas
Since this dish has a rich sauce, you want something that can soak it up or something fresh to contrast it. I always serve this over steamed jasmine rice or quinoa.
If you're looking for a veggie side, some steamed bok choy or sautéed spinach works great. For something a bit more substantial, these Cabbage Dumplings make a great companion because the ginger in the dipping sauce mirrors the flavors in the chicken.
Another option is a simple cucumber salad with rice vinegar and sesame seeds. The cold, crisp cucumbers cut through the creamy coconut milk perfectly.
Storage and Zero Waste
These leftovers stay fresh for several days. Store them in a glass container in the refrigerator for 3 to 4 days. To restore the sauce's consistency while reheating, stir in a little water or a teaspoon of coconut milk.
For freezer storage, keep the dish for a maximum of 2 months. Let it defrost in the refrigerator overnight, then heat it through on the stovetop.
To minimize waste, save any remaining sauce. It makes a fantastic foundation for a fast coconut curry the following day simply simmer it with frozen carrots and peas, then serve over fresh rice. Any remaining lime wedges can be juiced and frozen in ice cube trays for later use.
Different Flavor Twists
Feel free to customize this base recipe with whatever ingredients you have in your pantry.
- Coconut Braised Chicken with Chickpeas and Lime: Mix in a can of drained chickpeas while simmering. This adds a nutty texture and a boost of protein.
- Spicy Thai Twist: Stir in a tablespoon of red curry paste alongside the ginger for a more nuanced and complex heat.
- Slow Cooker Method: For a hands off approach, sear the meat first, then transfer everything to a slow cooker for 4 hours on low.
- Paleo Friendly Swap: Substitute soy sauce with coconut aminos to keep the dish soy-free.
If you love rich, creamy sauces but want a different flavor profile, you might enjoy this creamy pasta for your next meal.
Decision Shortcut: Need more tang? -> add 1 tsp lemon zest Want more heat? -> double the red pepper flakes Prefer a thicker sauce? -> simmer 3 mins longer uncovered
A Few Common Myths
Many believe that searing meat "locks in" the juices. In reality, this is a misconception. Searing is used to develop flavor and color, not to retain moisture. The tenderness of the Coconut Braised Chicken comes from the temperature control and the braising liquid.
Another myth is that coconut milk is reserved for sweet treats. As demonstrated here, its rich fat content makes it an excellent savory base that carries aromatics and spices perfectly.
And there you have it a luxurious, tropical dinner ready in less than an hour. It is a straightforward process, yet the final result feels far more elegant than the effort required. Dig into your Coconut Braised Chicken!
Recipe FAQs
What does coconut milk do to chicken?
It tenderizes the meat and adds a rich, creamy texture. The fats in the coconut milk create a velvety sauce that prevents lean breasts from drying out.
Is it true that you can't cook raw chicken directly in coconut milk?
False. You can simmer raw chicken in coconut milk, though searing first creates a mahogany crust and deeper flavor.
How long should you braise chicken for?
Simmer for 10 12 minutes. Ensure the meat's core temperature is 165°F (74°C) so it stays juicy and is cooked safely.
Which side dishes pair best with this chicken?
Serve this over steamed jasmine rice or quinoa. If you love building rich, creamy pan sauces, you'll appreciate the technique used in our Creamy Sauce Recipe.
Coconut Braised Chicken